
Installing a dry well under your downspouts is a simple way to improve your garden’s drainage and prevent waterlogging. It provides underground space for excess water, helping it soak gradually into the soil and reducing runoff on your lawn. Proper placement, sizing, and regular maintenance are key for effective results. Keep your system working smoothly, and you’ll enjoy a healthier garden—continue to learn how to make your dry well perform its best.
Key Takeaways
- Properly installed dry wells effectively divert excess rainwater from downspouts, preventing water pooling and protecting garden beds.
- Selecting the right size and placement ensures optimal drainage, reducing erosion and waterlogging in your landscape.
- Using appropriate gravel and perforated pipes enhances soil absorption and prevents clogging issues.
- Regular maintenance and inspections keep the dry well functioning efficiently, extending its lifespan.
- Incorporating dry wells is a simple, cost-effective upgrade that promotes healthier garden growth and long-term drainage solutions.
How Do Dry Wells Improve Garden Drainage and Solve Waterlogging?
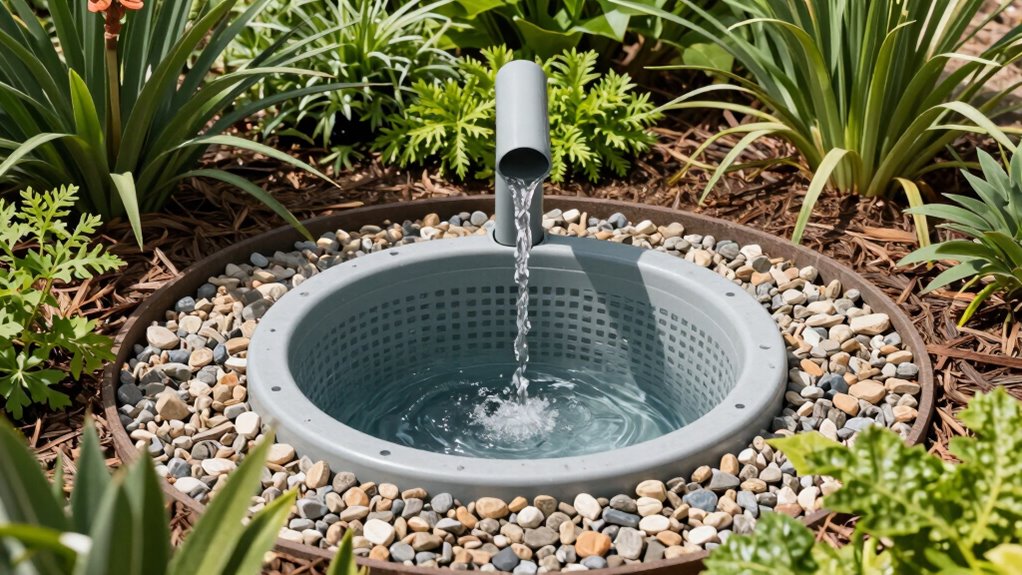
Dry wells help improve garden drainage by providing an underground space where excess water from downspouts can safely collect. This prevents water from pooling on your lawn or around your foundation, reducing waterlogging issues. When it rains, rainwater harvesting from your gutters directs water into the dry well, allowing it to slowly seep into the soil. This process enhances soil absorption, ensuring water is distributed evenly and doesn’t saturate your garden’s surface. By capturing runoff, dry wells also help protect plants from root rot caused by standing water. Proper drainage design is essential for maximizing the effectiveness of dry wells in managing water flow. Additionally, incorporating landscape planning can optimize water runoff pathways and improve overall drainage. Using appropriate installation techniques can further ensure the longevity and efficiency of your dry well system. To further improve efficiency, selecting the right material for dry wells can enhance durability and water flow management. Ultimately, dry wells give you a simple, effective way to manage excess water and keep your garden well-drained.
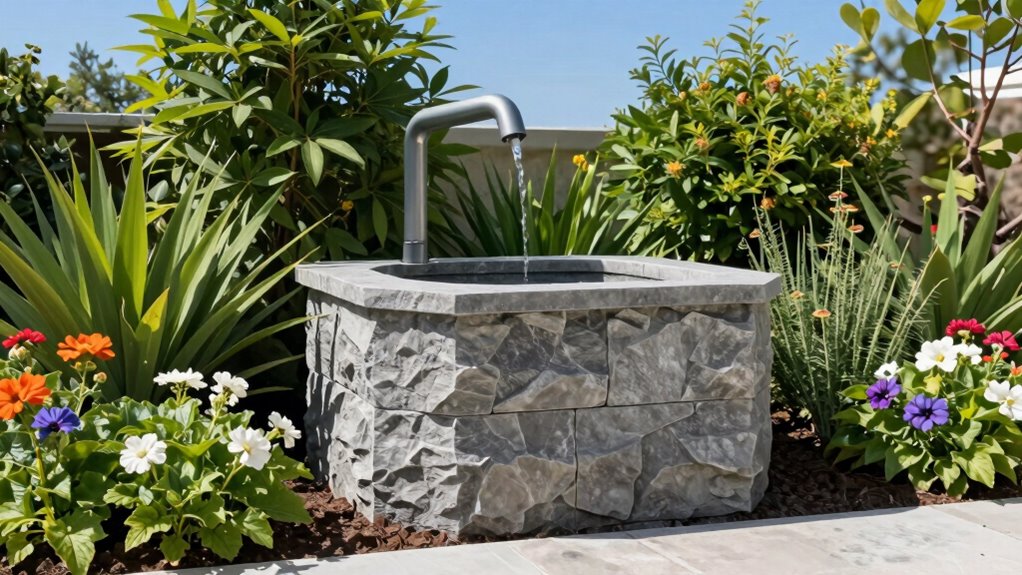
How to Choose the Best Location and Size for Your Dry Well

Choosing the right location and size for your dry well is crucial to guarantee effective water management and prevent any potential issues. Start by examining your garden layout to identify areas where water tends to pool or flow excessively. You want to place the dry well downhill from your downspout and away from your foundation. Conduct a soil assessment to determine drainage capacity; sandy or gravelly soils drain faster, so you might need a larger or deeper dry well. In contrast, clay soils may require a bigger volume or additional perforations. The goal is to ensure the dry well can handle runoff volume without overflowing or causing erosion. Proper positioning and sizing will optimize your drainage system’s performance and protect your garden’s health. Additionally, understanding your soil’s drainage efficiency can help you select the most suitable dry well size and prevent potential water damage. Evaluating the soil’s drainage capacity can also inform whether you might incorporate additional features like perforated piping or gravel beds to enhance water flow. To further improve your system, consider perforated piping as a way to distribute water more evenly throughout the dry well. Using a drainage calculator can help you estimate the necessary size and capacity based on your specific conditions. Incorporating soil amendments or improved grading may also boost overall drainage performance.
A Simple Step-by-Step Guide to Installing a Dry Well
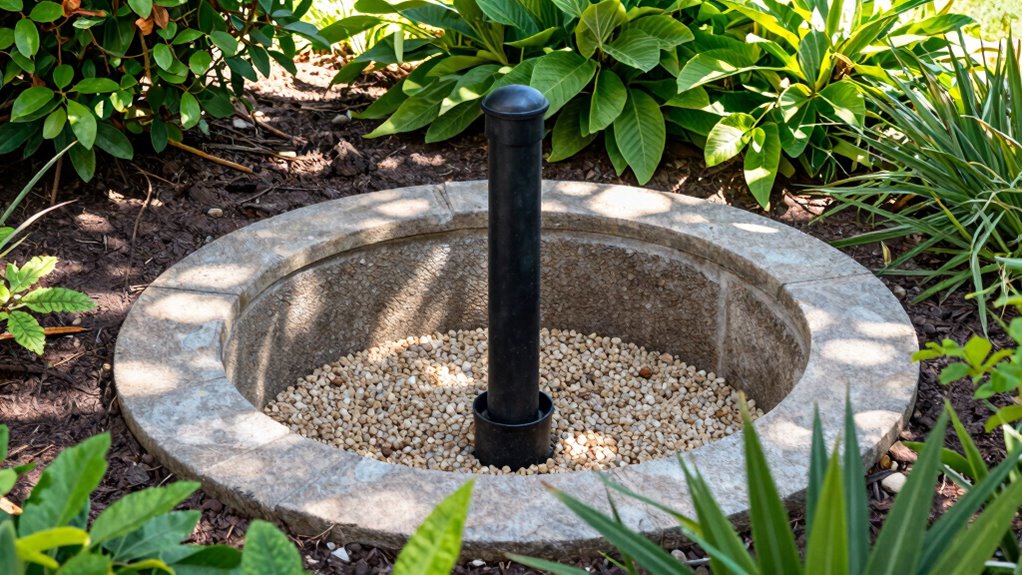
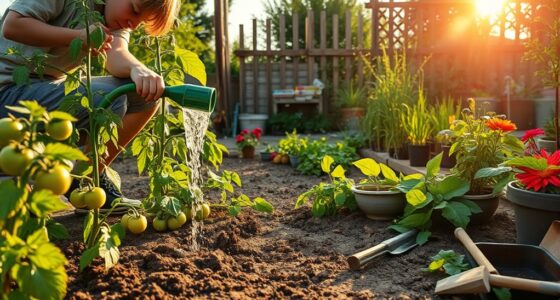
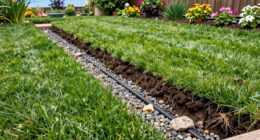
Interested in installing a dry well yourself? Start by choosing a spot with good soil absorption, ideally where rainwater harvesting can be most effective. Dig a hole about 3 to 4 feet deep and wide enough to hold the dry well components and gravel. Place a perforated pipe at the bottom to direct downspout water into the well. Cover the pipe with gravel, then fill the space around the pipe with more gravel, ensuring proper drainage. Connect your downspout to the dry well inlet securely. Make sure it’s a few inches above ground level for easy access and future maintenance. Properly installing drainage systems is crucial to prevent water pooling and potential damage to your landscape. It’s also helpful to monitor the system during rain to confirm proper water flow and make adjustments if needed. Regular inspection and maintenance can prolong the life of your dry well and prevent clogs. Additionally, understanding the permeability of your soil can help you select the best location for effective drainage. Finally, backfill with soil and monitor the system during rain to confirm proper water flow. This simple step-by-step process guarantees your garden benefits from effective drainage and rainwater harvesting.
How to Maintain and Clean Your Dry Well for Long-Term Effectiveness
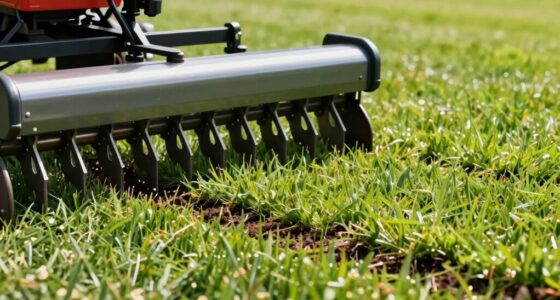
Regular maintenance is essential to guarantee your dry well functions effectively over time. Start by inspecting it periodically for debris buildup or clogs that could block water flow. To keep the surrounding soil healthy, perform soil aeration around the dry well, which helps maintain proper drainage and prevents compaction. Clear out any leaves, dirt, or obstructions that may accumulate inside the well or its inlet. When cleaning, consider plant compatibility; avoid disrupting roots of nearby plants that might be sensitive to disturbance. If necessary, loosen compacted soil around the dry well to improve infiltration. Regularly checking and maintaining your dry well ensures it continues to drain efficiently, protecting your garden from water pooling and promoting a healthy, balanced landscape. Additionally, understanding the drainage capacity of your dry well can help you determine if upgrades or replacements are needed over time. Being aware of the installation process can assist in proper setup and maintenance. Knowing the availability of backup options can also be useful in case your dry well needs repairs or replacement to avoid future issues. Incorporating proper inspection techniques can further extend the lifespan of your drainage system and prevent costly repairs. Moreover, staying informed about potential clog causes can help you proactively address issues before they worsen.
Common Dry Well Problems and How to Fix Them
Dry well problems often stem from blockages or inadequate drainage, which can cause water to back up and reduce effectiveness. When your dry well isn’t draining properly, it can also impact your landscape aesthetics by creating soggy spots or pooling water. Common issues include sediment buildup, debris clogging the inlet or outlet, or using material options that aren’t suited for your soil type. To fix these problems, start by inspecting and cleaning out any blockages. Consider installing a gravel or perforated pipe liner if your current material options aren’t promoting proper drainage. Improving the landscape aesthetics involves ensuring the dry well blends seamlessly with your garden design while functioning efficiently. Regular maintenance and selecting the right materials help keep your dry well working effectively. Additionally, understanding the importance of proper filtration can prevent sediment and debris from entering and clogging the system, ensuring long-term performance. Incorporating drainage testing can help identify underlying issues and verify that your dry well is functioning as intended. Using appropriate materials can also significantly reduce the likelihood of future drainage problems and extend the lifespan of your dry well. Maintaining proper soil assessment can further optimize drainage and prevent recurrent issues over time. Proper installation techniques are also essential to ensure the dry well operates properly from the start.
Frequently Asked Questions
Can Dry Wells Handle Heavy or Prolonged Rainfall Events Effectively?
Dry wells can handle heavy or prolonged rainfall effectively if properly designed with adequate size and soil conditions. They excel in stormwater management by temporarily storing runoff, then gradually releasing it into the ground, promoting groundwater recharge. However, if rainfall exceeds the dry well’s capacity or the soil isn’t permeable enough, overflow or waterlogging may occur. Regular maintenance and correct sizing are essential for peak performance during intense weather events.
Are Dry Wells Suitable for All Soil Types and Terrains?
Dry wells aren’t suitable for all soil types and terrains. If your soil has good drainage and is sandy or loamy, you’ll find dry wells work well. However, clay soils or compacted terrains can hinder proper absorption, making dry wells less effective. Before installation, assess your soil’s compatibility and terrain suitability to guarantee your dry well functions properly, preventing water pooling or runoff issues in your garden.
How Deep Should a Dry Well Be for Optimal Drainage?
For ideal drainage, you should make your dry well about 4 to 6 feet deep, ensuring it extends below the water table to prevent flooding. Use impermeable barriers like plastic or clay to contain water and prevent leaks. Check local regulations, as soil type and terrain impact depth needs. A well-placed dry well with proper depth helps manage runoff efficiently, protecting your garden from water damage.
What Materials Are Best for Constructing Durable Dry Wells?
Think of your dry well as a sturdy sponge soaking up rainwater. Use durable materials like permeable liners for long-lasting structure and crushed stone for ideal drainage. These materials work together like a well-oiled machine, allowing water to flow freely while preventing clogging. Choosing for quality, weather-resistant components ensures your dry well withstands the elements and keeps your garden dry and healthy for years to come.
Are There Legal or Permit Considerations for Installing Dry Wells?
Yes, you need to check local regulations and permit requirements before installing a dry well. You should contact your local building or zoning department to guarantee compliance with rules related to drainage systems. Failing to obtain necessary permits can lead to fines or required removal. By understanding these regulations upfront, you can install your dry well legally and avoid future issues, making your drainage upgrade smooth and hassle-free.
Conclusion
Think of your dry well as the heart of your garden’s drainage system—pumping away excess water to keep everything thriving. Regular maintenance guarantees it beats strong for years to come. With a little effort, you’ll prevent waterlogging and create a healthier, happier garden. Remember, a well-maintained dry well isn’t just a simple upgrade; it’s the foundation that keeps your garden’s roots grounded and flourishing, no matter what the weather throws your way.