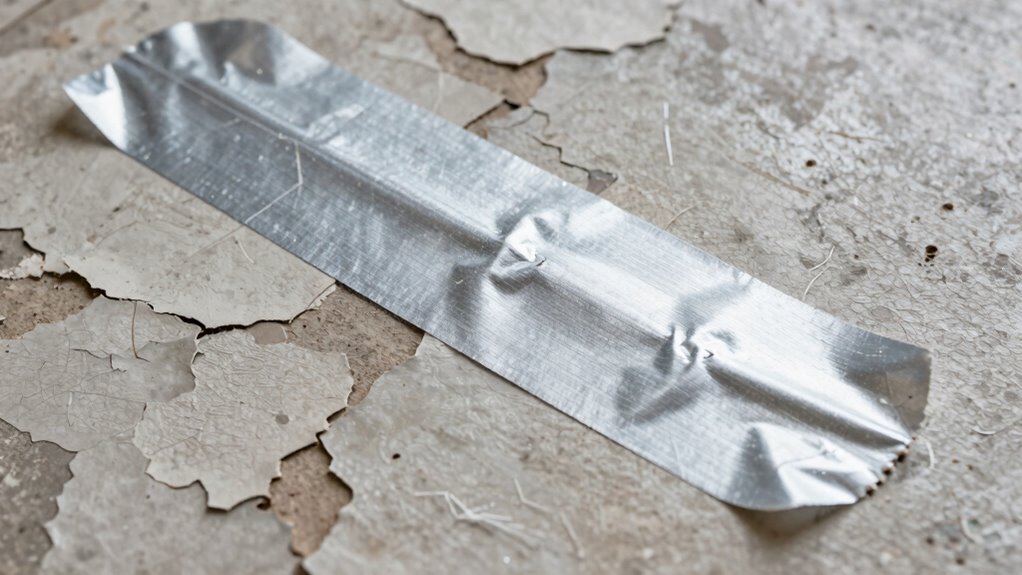

Proper surface prep is key for a strong, lasting repair with tape on covers and panels. You should clean the area thoroughly to remove dirt, grease, and residues, then lightly scuff the surface to improve mechanical bonding. Applying tape to a dry, smooth, and well-prepared surface guarantees better adhesion and reduces the chances of peeling or failure. Pay attention to environmental conditions too. Keep exploring to discover tips that will help you get the most reliable fix.

Get garden gear delivered free with Prime
- Fast, free delivery on millions of items
- Prime Video, Amazon Music and more included
- Member-only deals all year
Key Takeaways
- Proper surface prep ensures strong, long-lasting adhesion of repair tape on covers and panels.
- Cleaning removes dirt and residues that can weaken the tape’s bond.
- Roughening the surface improves mechanical bonding and adhesion strength.
- Environmental factors like humidity and temperature can affect tape adhesion if not managed.
- Correct application techniques, including firm pressing, prevent peeling and enhance repair durability.
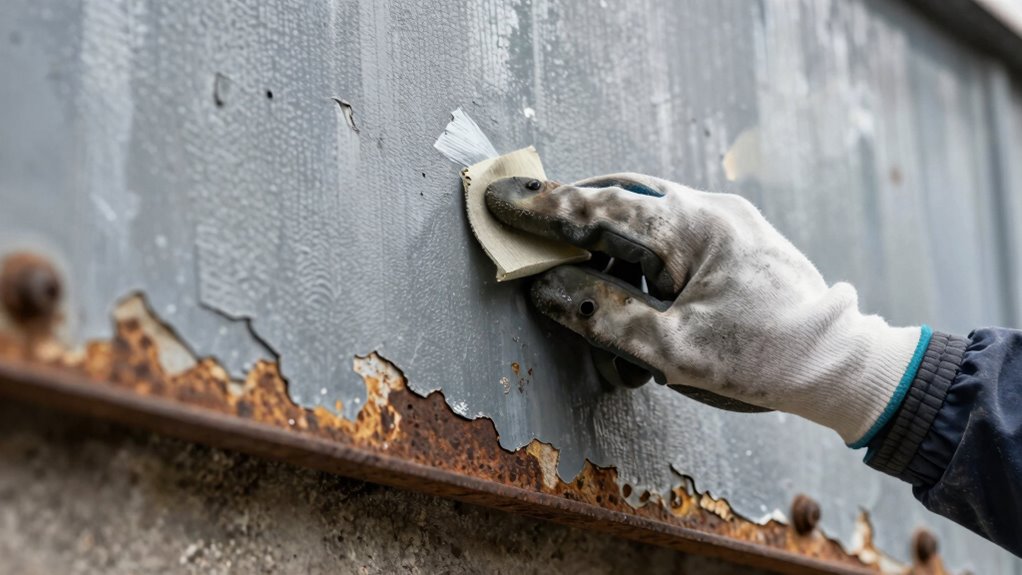
Proper surface preparation is essential to guarantee your repair tape adheres effectively and lasts longer. When you’re working with covers and panels, the success of your repair depends heavily on how well the tape bonds to the surface. This means paying close attention to adhesion techniques and surface cleaning methods before applying the tape. Skipping these steps can lead to poor adhesion, premature peeling, or complete failure of the repair, which wastes time and materials.
Proper surface prep ensures your repair tape bonds well and lasts longer, preventing failure and saving time.
Start by evaluating the surface you’re working with. Most surfaces, especially plastics, metals, and painted panels, need a thorough cleaning to remove dirt, grease, oil, or any residues that could interfere with adhesion. Surface cleaning methods vary depending on the material, but typically, wiping the area with isopropyl alcohol or a mild detergent solution works well. Make sure to dry the surface completely afterward; moisture can hinder the tape’s ability to stick firmly. For stubborn grime or oily spots, a solvent like acetone can be effective, but always test a small area first to prevent damage.
Once the surface is clean and dry, focus on surface roughness. Sometimes, lightly scuffing the surface with fine-grit sandpaper or a Scotch-Brite pad can improve adhesion by creating a better mechanical bond. Be cautious not to scratch too deeply or damage the panel, especially if aesthetics matter. The goal is to increase surface texture without compromising the integrity of the material. Additionally, understanding the importance of surface prep can significantly influence the longevity of your repair. Proper surface preparation also helps in preventing issues like air bubbles or uneven bonding, which are common causes of tape failure. Taking the time to ensure a smooth and properly prepared surface can greatly enhance the durability of your fix.
Next, consider the environment where you’ll be applying the tape. Temperature and humidity play roles in adhesion success. Applying tape in a dry, moderate-temperature setting ensures better bonding and reduces the chance of trapping moisture or air bubbles. If you’re working outdoors or in a humid space, give the surface ample time to dry and reach a temperature where the tape can adhere properly. Additionally, working in the correct environment can prevent surface contamination, which may compromise your repair.
Finally, use proper adhesion techniques throughout the process. Press the tape firmly onto the surface, ensuring even contact and eliminating any air pockets. Use a roller or the edge of a plastic squeegee to smooth out the tape, promoting better contact and reducing the risk of peeling. Remember, patience and attention to detail during surface cleaning methods and adhesion techniques are what make your repair tape hold strong and last longer. When you prepare the surface carefully, your fix becomes more reliable, saving you from repeated repairs and frustration down the line.
high-strength repair tape for panels
As an affiliate, we earn on qualifying purchases.
As an affiliate, we earn on qualifying purchases.
Frequently Asked Questions
Can Repair Tape Be Used on Wet or Damp Surfaces?
No, repair tape shouldn’t be used on wet or damp surfaces because surface adhesion decreases, compromising tape durability. Moisture prevents the tape from sticking properly, making your repair less secure and more likely to fail. For best results, confirm the surface is dry, clean, and smooth before applying the tape. This preparation guarantees better surface adhesion, leading to a stronger, longer-lasting fix.
How Long Does Surface Prep Last Before Reapplying?
Think of surface prep as laying a solid foundation for a house—its durability depends on how well you prepare it. Typically, surface prep lasts several months, but environmental factors like moisture, temperature swings, and UV exposure can shorten this lifespan. You should reapply or refresh your surface prep whenever you notice signs of wear or environmental stress, ensuring your repair tape maintains its grip and keeps your covers and panels secure.
Is Surface Prep Necessary for All Types of Repair Tape?
Yes, surface prep is necessary for all types of repair tape to guarantee proper adhesion. You should focus on application techniques like cleaning, drying, and roughening the surface when needed. Checking surface compatibility is vital; some tapes work better on smooth surfaces, while others need textured ones. Properly prepping the area guarantees a stronger, longer-lasting repair, preventing future issues and maximizing the tape’s effectiveness.
What Are the Best Cleaning Agents for Surface Preparation?
You should use cleaning solvents like alcohol or acetone for surface preparation, as they effectively remove oils and residues. Surface degreasers are also excellent choices when dealing with greasy surfaces, ensuring the tape adheres properly. Avoid harsh chemicals that might damage the material. Proper cleaning with these agents creates a clean, dry surface, which is essential for a strong, lasting bond with repair tape.
Can Surface Prep Remove Existing Damage or Just Prep the Surface?
Surface prep primarily prepares the surface for repair; it doesn’t remove existing damage. You should first do a damage assessment to understand the extent of issues like cracks or dents. Surface cleaning guarantees proper adhesion of repair tape, but it won’t fix damage itself. Instead, you evaluate the damage, clean the area thoroughly, and then decide if additional repairs are needed before applying tape for a secure, long-lasting fix.
surface prep cleaning supplies for tape adhesion
As an affiliate, we earn on qualifying purchases.
As an affiliate, we earn on qualifying purchases.
Conclusion
Remember, a job half-done is a job twice as bad. Proper surface prep guarantees your repair tape sticks firmly and lasts longer, saving you time and frustration. Clean, dry, and roughen the surface before applying the tape for the best results. When you prepare the surface right, you set the stage for a successful fix. So, don’t skip the prep—because a strong foundation is the key to a lasting repair.
fine grit sandpaper for surface scuffing
As an affiliate, we earn on qualifying purchases.
As an affiliate, we earn on qualifying purchases.
weatherproof repair tape for outdoor use
As an affiliate, we earn on qualifying purchases.
As an affiliate, we earn on qualifying purchases.
Fall yard work Picks
leaf blowers
As an affiliate, we earn on qualifying purchases.