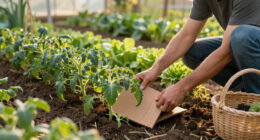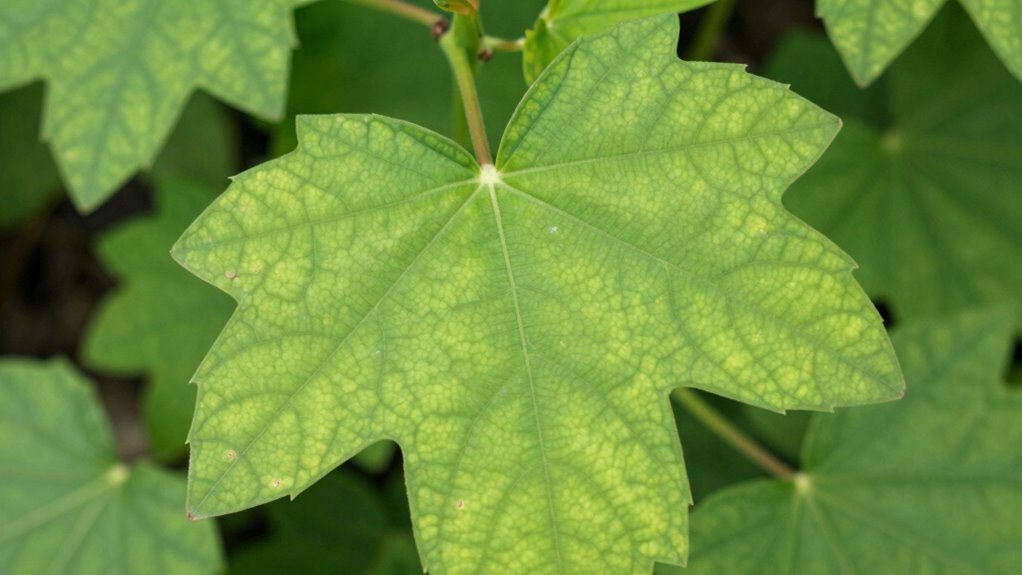
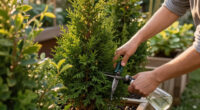
To make plant diagnosis easier, angle your photos to show both overall health and close-up details. Take overhead shots to see leaf discoloration and wilting, and include side or angled views for stems and branches. Use close-ups for pests, eggs, or tiny signs that are easy to miss from afar. Proper lighting and multiple perspectives reveal subtle issues, helping you spot problems quickly. Keep exploring to discover more tips for capturing the best plant photos.

Get garden gear delivered free with Prime
- Fast, free delivery on millions of items
- Prime Video, Amazon Music and more included
- Member-only deals all year
Key Takeaways
- Capture overhead shots to assess overall plant health, discoloration, and wilting signs effectively.
- Use close-up angles on leaves and stems to detect tiny pests, eggs, or subtle disease symptoms.
- Include soil surface in photos to evaluate moisture levels and root health indirectly.
- Adjust angles based on plant growth habit, such as side views for sprawling plants and front views for upright species.
- Take multiple photos from different perspectives for a comprehensive diagnosis.
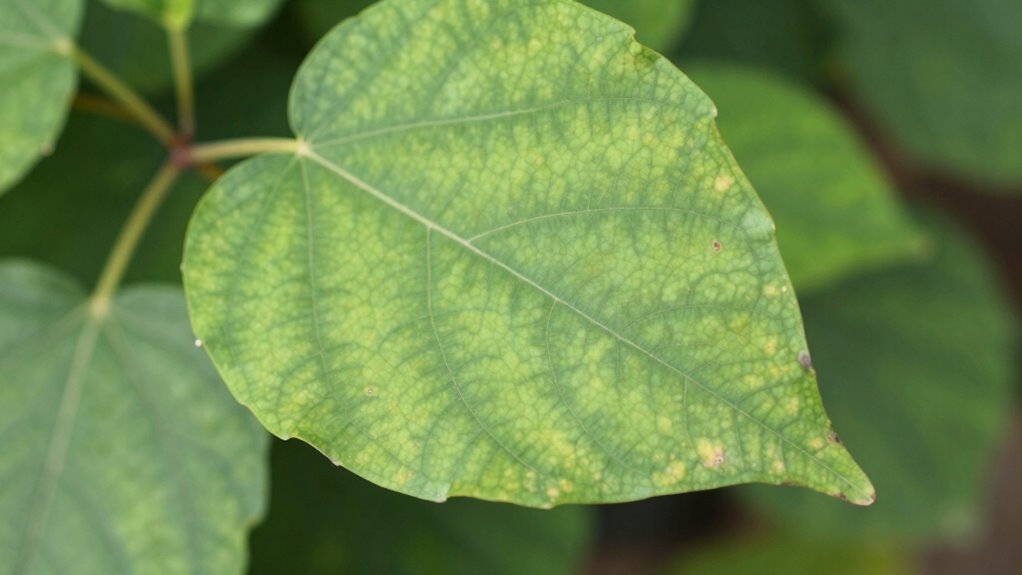
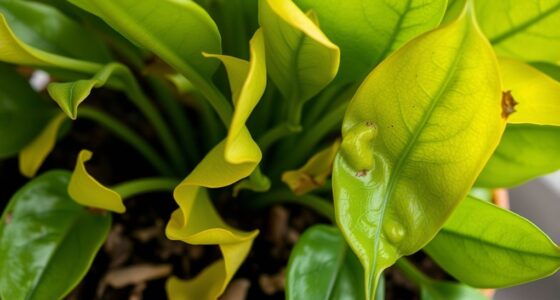
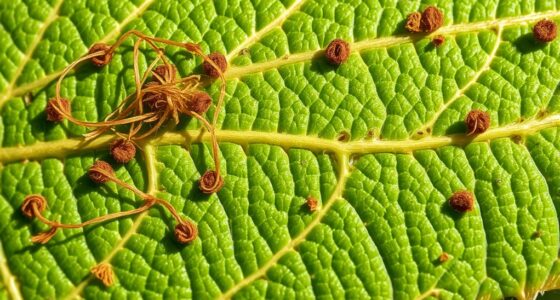
When diagnosing plant health, choosing the right photo angle is essential for accurately identifying issues. The angle you select can make the difference between catching a subtle sign of trouble or missing it entirely. For example, capturing an overhead shot offers a thorough view of the plant’s overall condition, revealing leaf discoloration, spots, or wilting. This perspective helps you evaluate the general health and identify patterns that might suggest nutrient deficiencies or pest problems. Conversely, a close-up shot focusing on specific parts—like a single leaf or stem—can reveal details that are easy to overlook from afar. It’s particularly useful when examining pest identification, as many pests hide on the undersides of leaves or within crevices. By zooming in, you can spot tiny insects, eggs, or webbing that might be obscured in a wider shot.
Another critical factor is soil moisture, which plays a significant role in plant health. When capturing images to diagnose issues, you want to include the soil surface in the frame. This allows you to evaluate whether the soil appears overly dry or waterlogged, both of which can stress the plant or encourage disease. An angle that provides a clear view of the soil’s surface, combined with the plant’s base, helps you determine if watering practices are appropriate or if drainage problems exist. This insight is especially helpful when evaluating root health indirectly; if the soil appears consistently too wet, roots may be rotting, leading to leaf yellowing or wilting. Additionally, considering soil drainage is vital, as poor drainage can cause water to accumulate and harm the roots. Recognizing the growth habit of your plant can also influence the best angle for observation, ensuring you catch issues specific to its structure. Using proper lighting can further enhance your ability to see subtle signs, making your diagnosis more accurate. Incorporating plant structure awareness can help you adjust your photography technique to capture the most relevant details effectively. A good understanding of plant anatomy can also guide you in selecting the optimal angles for thorough inspection.
The angle you choose should also consider the plant’s growth habit. For sprawling plants, a side or slightly angled shot can reveal issues with stems or branches that aren’t visible from above. For upright plants, a straight-on or slightly upward angle can expose pests hiding on stems or undersides of leaves. Additionally, lighting plays a role; natural light or even diffused flash can help you see finer details, such as tiny pests or subtle changes in leaf color. Ultimately, the best photo angle balances the need to show the overall health of the plant, details of pest presence, and soil conditions. Taking multiple shots from different angles ensures you don’t miss critical signs and provides a thorough view that aids in accurate diagnosis and effective treatment.
As an affiliate, we earn on qualifying purchases.
Frequently Asked Questions
What Camera Settings Are Best for Plant Photos?
You should use a camera with good stability, like a tripod, to avoid blurry images, especially when capturing detailed plant features. Set your camera to macro focusing mode to get close-up shots of leaves, spots, or pests. Use a small aperture (high f-stop number) for greater depth of field, ensuring more of the plant is in focus. Adjust ISO and shutter speed to match lighting conditions for clear, sharp images.
How Close Should I Get for Detailed Plant Images?
You should get close enough to fill the frame with your plant’s details, but avoid background distraction. Use your focus technique—press the shutter halfway to lock focus—to guarantee sharpness on the leaf’s veins or tiny pests. Imagine the plant’s surface as a textured canvas, inviting your camera to capture every intricate line and color. Stay steady, and don’t zoom in too much to prevent blurriness or distracting backgrounds.
Can Smartphone Photos Suffice for Accurate Diagnosis?
Smartphone photos can suffice for accurate plant diagnosis if you focus on capturing clear, detailed images of affected areas. Guarantee good lighting and get close enough to show symptoms like spots, discoloration, or pests. Proper angles help highlight specific issues, making pest identification and plant disease diagnosis easier for experts. While high-quality images aid accuracy, taking multiple shots from different angles improves your chances of correct identification.
What Lighting Conditions Improve Plant Photo Clarity?
You’ll get the clearest plant photos when you use bright, natural light, ideally during overcast days or near a window with diffused sunlight. This improves lighting contrast and enhances color accuracy, making details stand out without harsh shadows or glare. Avoid direct sunlight, which can wash out colors and create overexposed areas. Consistent, even lighting helps you capture true plant conditions, aiding accurate diagnosis from your smartphone images.
How Do Weather Conditions Affect Plant Photo Quality?
Weather variability and cloud coverage can gently influence your plant photos, often softening shadows and diffusing light. Overcast days create a balanced, even illumination, reducing harsh contrasts that obscure details. However, inconsistent weather might cause fluctuating light conditions, making it trickier to capture clear images. To optimize your plant photos, aim for days with steady cloud coverage, avoiding overly bright or dull conditions that hinder detailed observation.
macro lens for plant photography
As an affiliate, we earn on qualifying purchases.
As an affiliate, we earn on qualifying purchases.
Conclusion
By choosing the right photo angle, you can uncover a clearer view of your plant’s health, much like finding the perfect lens to bring a hidden story into focus. When you get down low or look from above, you’re peeling back the layers of mystery behind leaf spots or discoloration. Think of it as tuning your camera to see your plant’s true colors—making diagnosis easier and your gardening efforts more successful.
As an affiliate, we earn on qualifying purchases.
As an affiliate, we earn on qualifying purchases.
Fall yard work Picks
leaf blowers
As an affiliate, we earn on qualifying purchases.