To guarantee your soil moisture sensors provide accurate data, place them in the root zone where plant roots actively absorb water. Avoid sites with soil compaction, heterogeneity, or debris, and pick consistent spots across your garden or field. Position sensors at appropriate depths considering soil type and layering. Secure them well and avoid air gaps. Future tips are available if you continue exploring ways to optimize sensor placement effectively.
Key Takeaways
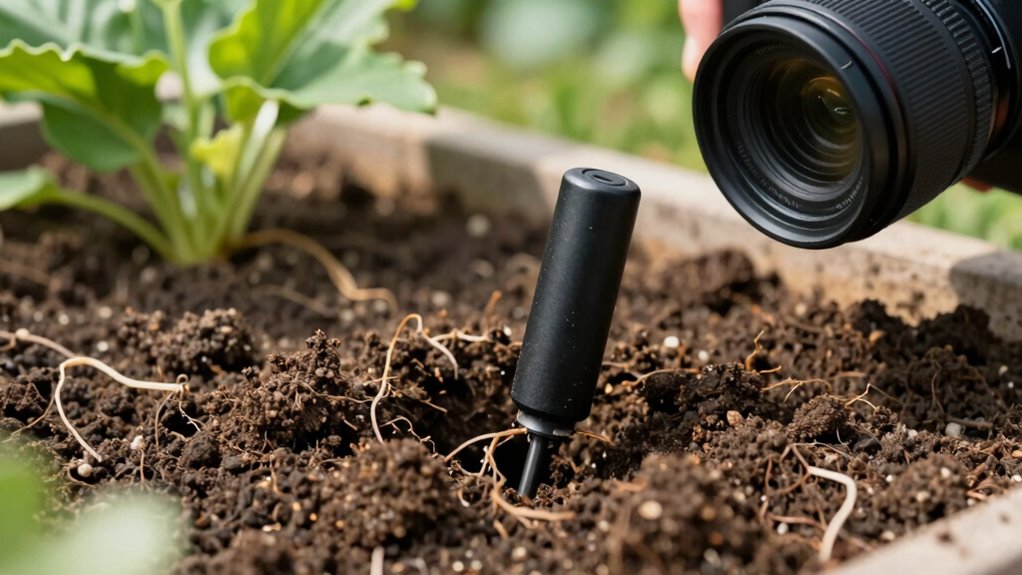
- Place sensors within the root zone, typically a few inches below the surface, to monitor active water absorption accurately.
- Ensure good soil contact by digging a stable, properly sized hole, avoiding air gaps or loose soil around the sensor.
- Position sensors at appropriate depths considering soil layers, moisture gradients, and water table levels for reliable readings.
- Select consistent, representative spots free from soil heterogeneity, compaction, or debris to obtain accurate, comparable data.
- Regularly check and calibrate sensors, adjusting placement as needed to maintain measurement accuracy over time.
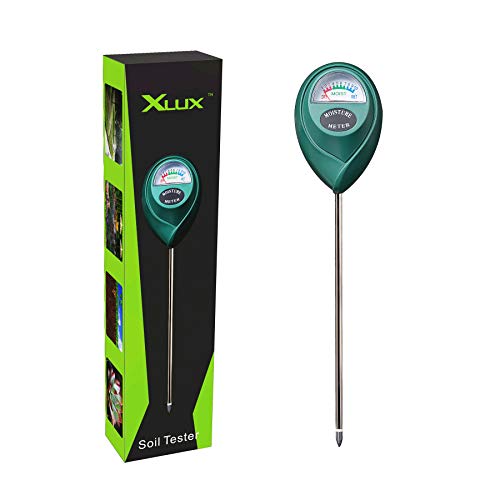
XLUX Soil Moisture Meter (Since 2015) – Durable 304 Stainless Steel Probe & Virgin ABS – Instant Read Hygrometer for Garden, Indoor & Outdoor Plants (Upgraded Design)
Trusted Since 2015: Become one of the many plant lovers who rely on the proven accuracy of XLUX….
As an affiliate, we earn on qualifying purchases.
As an affiliate, we earn on qualifying purchases.
Why Proper Soil Moisture Sensor Placement Matters

Have you ever wondered why some plants thrive while others struggle, even when watering schedules are consistent? Proper soil moisture sensor placement is key. When sensors are incorrectly positioned, the data can be skewed by moisture variability, leading you to over- or under-water. Accurate sensor calibration depends heavily on placement; if a sensor is too close to the surface or near roots, it may not reflect the true moisture levels deeper in the soil. This misreading can cause you to make poor watering decisions, affecting plant health. By placing sensors at the right depth and location, you get reliable data that reflects actual soil conditions. Correct placement guarantees your readings are precise, helping you optimize watering and maintain healthy, thriving plants.

Antonki 2 Pack Soil Moisture Meter, Plant Water Meter for Gardening,Farming, Soil Tester Hygrometer Sensor for Indoor Outdoor House Plants, Flower, Lawn- No Battery Required
This soil moisture meter helps to monitoring plants soil moisture level in real time and telling you how…
As an affiliate, we earn on qualifying purchases.
As an affiliate, we earn on qualifying purchases.
How Soil Layers Affect Moisture Readings

Understanding how different soil layers influence moisture readings is essential for accurate soil monitoring. Soil stratification creates varying moisture levels, which affect sensor data. Moisture gradients occur naturally, with topsoil often wetter than deeper layers. If you place sensors without considering these layers, your readings may be misleading. For example:
| Soil Layer | Typical Moisture Level |
|---|---|
| Topsoil | Higher due to rainfall and organic matter |
| Subsoil | Moderate, less affected by recent rain |
| Bedrock/Deep Layers | Usually dry, minimal moisture transfer |
Additionally, recognizing the natural moisture gradient helps in selecting optimal sensor placement to obtain representative data. Understanding soil layering is crucial because it influences how moisture redistributes vertically within the soil profile. Being aware of soil heterogeneity can further improve the accuracy of your moisture measurements by accounting for localized variations. Moreover, considering soil moisture dynamics can help you better interpret sensor data over time, especially when factoring in climate variability that impacts soil moisture levels.

SONKIR Soil pH Meter, MS02 3-in-1 Soil Moisture/Light/pH Tester Gardening Tool Kits for Plant Care, Great for Garden, Lawn, Farm, Indoor & Outdoor Use (Green)
Kindly NOTE: This soil tester can not be applied to test pH value of any other liquid. If…
As an affiliate, we earn on qualifying purchases.
As an affiliate, we earn on qualifying purchases.
Picking the Best Depth for Your Soil Sensors
Choosing the right depth for your soil sensors is vital to obtaining accurate and meaningful moisture data. When selecting this depth, consider soil stratification, which causes moisture levels to vary at different layers. Placing sensors too shallow may reflect surface fluctuations rather than overall soil moisture, while deeper placement can provide a better picture of root zone conditions. Proper sensor calibration is also essential; verify your sensors are calibrated for the specific soil type and moisture range at your chosen depth. This calibration ensures readings accurately reflect real moisture levels, reducing errors caused by soil variability. Additionally, understanding soil layering can help in selecting the most representative depth for sensor placement. Recognizing how soil composition varies with depth can further refine your placement strategy. Incorporating soil testing during the setup process allows for more precise placement, aligning sensor data with actual soil conditions. Being aware of soil variability helps in adjusting sensor depth to account for anomalies or unusual soil features. Conducting a thorough site assessment can uncover hidden soil features that influence moisture patterns. By carefully selecting the depth, you improve data accuracy, enabling better irrigation decisions and healthier plant growth.

XLUX Long Probe Deep Use Soil Moisture Meter Sensor, Water Monitor Indicator, Hygrometer for Outdoor Indoor Large Pot Plants, Flower, Gardening, Farming, 2 Pack
Accurate Soil Moisture Detection: The XLUX Soil Moisture Meter can tell you if the soil deep inside your…
As an affiliate, we earn on qualifying purchases.
As an affiliate, we earn on qualifying purchases.
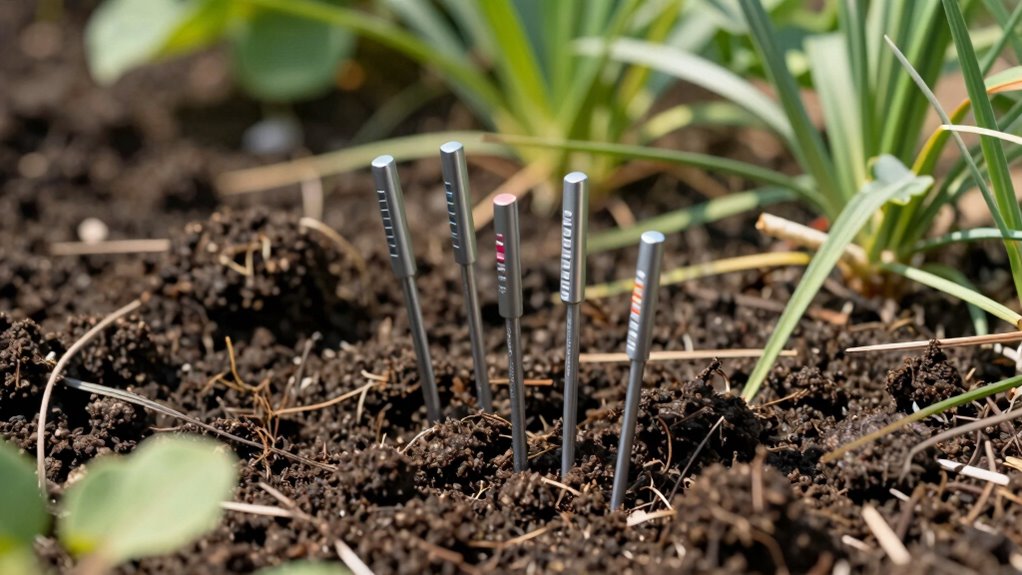
Finding the Optimal Spot in Your Garden or Field
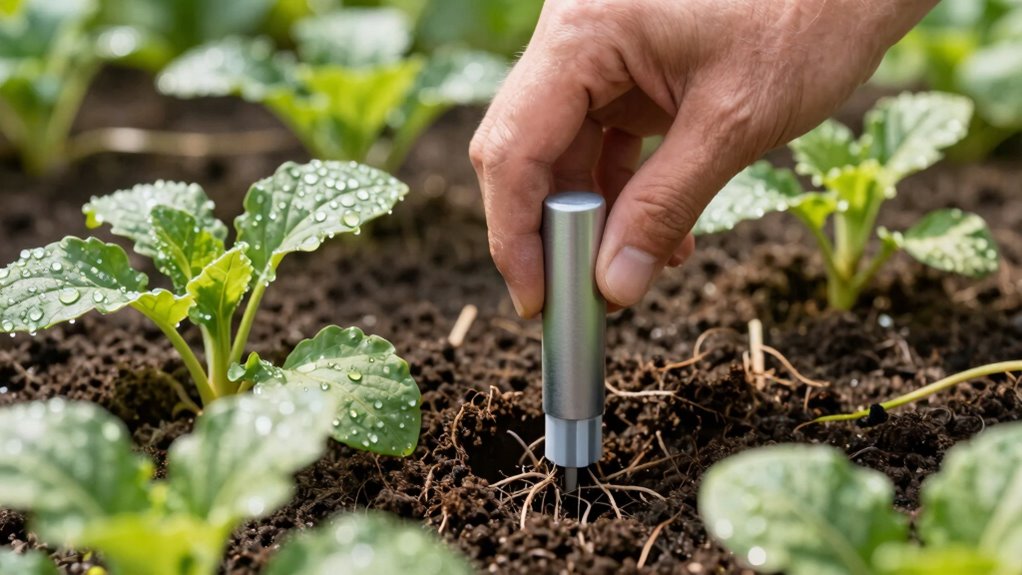
Where is the best place to position your soil moisture sensor in your garden or field? Focus on the root zone, where plant roots actively absorb water. Placing the sensor within this layer guarantees you’re getting accurate readings of what your plants actually need. Avoid areas with soil heterogeneity, such as spots with mixed textures or compaction, because they can skew data. Instead, select a representative spot that reflects the typical soil conditions across your planting area. Keep the sensor stable and at the desired depth, ensuring consistent contact with the soil. Proper sensor placement involves understanding the soil profile to ensure your data reflects real moisture levels. By choosing a spot that captures the true moisture level of the root zone and isn’t affected by irregular soil properties, you’ll make smarter watering decisions and improve plant health. Proper sensor placement is essential for accurate soil moisture readings and effective irrigation management. Additionally, considering soil heterogeneity helps prevent misleading data caused by inconsistent soil properties across your garden or field. Recognizing the importance of soil texture can further refine your sensor placement for more reliable data. Taking the time to assess soil variability ensures your measurements provide a true picture of moisture conditions.
Common Placement Mistakes and How to Avoid Them
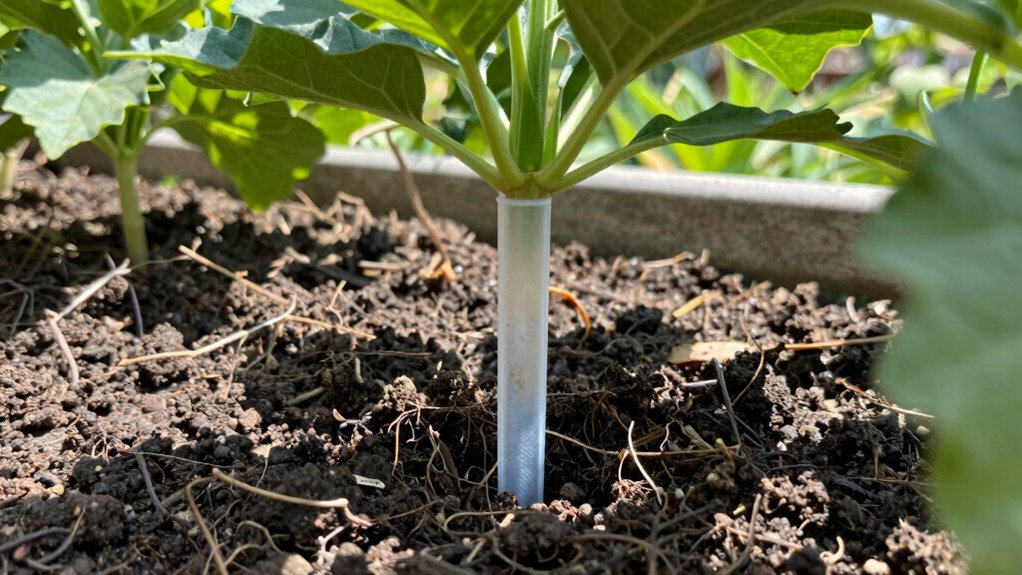
One common mistake is placing soil moisture sensors too close to plant stems or roots, which can lead to inaccurate readings due to localized moisture variations. To guarantee reliable data, avoid sensor shadowing caused by nearby structures or roots that may block moisture flow. Maintain placement consistency by installing sensors at a uniform depth and location across your field or garden. Be mindful of these pitfalls:
Avoid placing soil moisture sensors near plant stems or roots for accurate, consistent readings.
- Positioning sensors near shaded areas or under dense foliage
- Ignoring the influence of nearby structures or roots
- Moving sensors frequently, disrupting data consistency
- Placing sensors in inconsistent soil types or moisture zones
- Failing to secure sensors properly, leading to shifting positions
Ensuring proper sensor placement helps improve data accuracy and reliability.
Step-by-Step Guide to Installing Soil Moisture Sensors

To guarantee your soil moisture sensors work accurately, start by choosing the right location that reflects your plant’s root zone. Next, gather the necessary tools and prepare the soil to create a stable, interference-free environment. To enhance your understanding of how sensor placement impacts data, consider the importance of accurate positioning, which can be optimized by understanding innovative European cloud servers for secure data management. Finally, install and calibrate the sensor properly to get reliable moisture readings.
Choose Proper Sensor Location
Choosing the right location for your soil moisture sensor is essential to obtaining accurate readings. Proper placement ensures reliable data, aiding in sensor calibration and supporting ideal plant health. To find the best spot, consider these factors:
- Avoid areas with standing water or excessive shade
- Place sensors at the root zone where plants actively draw moisture
- Stay clear of obstructions like rocks or debris that could interfere with readings
- Select consistent soil types to prevent skewed data
- Ensure the sensor is stable and not disturbed by wind or animals
- Proper sensor placement directly impacts data accuracy and plant health monitoring.
Prepare Soil and Tools
Before installing your soil moisture sensor, it’s important to prepare the soil and gather the necessary tools. Start by evaluating the soil composition at your chosen location, ensuring it’s free of debris and weeds that could interfere with readings. Clear the area around the sensor site, removing any loose soil or plant material. You’ll need basic tools like a trowel, a spade, or a small shovel to dig the installation hole. Focus on reaching the root zone, typically a few inches below the surface, where plant roots actively absorb water. Proper preparation ensures the sensor makes good contact with the soil, providing accurate moisture data. Taking these steps helps create a stable environment for your sensor and ensures reliable readings over time.
Install and Calibrate Sensor
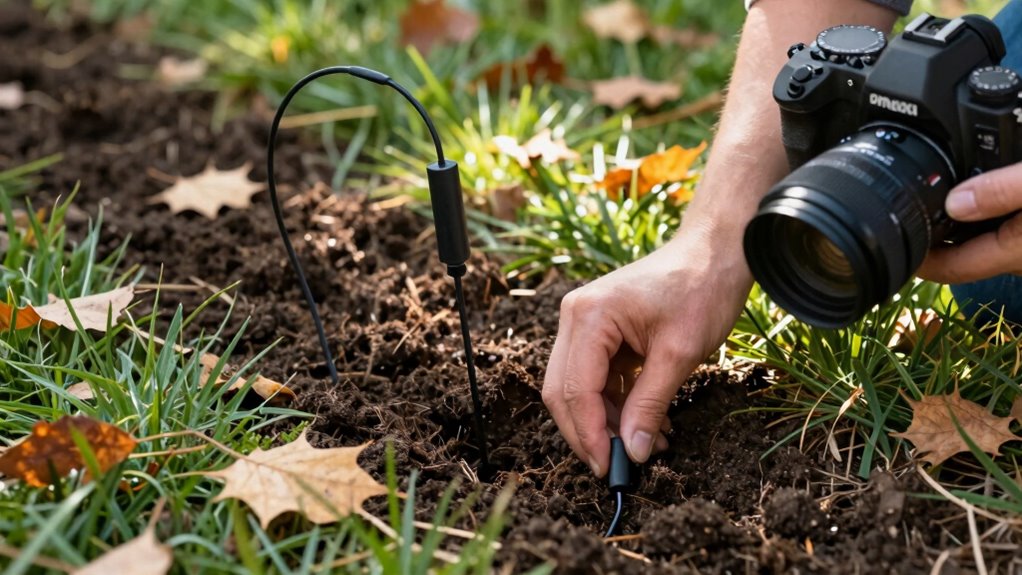
Installing your soil moisture sensor correctly is essential for accurate readings, so start by inserting the sensor’s probe into the prepared hole at the desired depth, ensuring good contact with moist soil. Position the sensor within the root zone to monitor soil moisture where plant roots actively absorb water, which also influences soil nutrient availability. Once inserted, secure the sensor to prevent movement during weather changes. To calibrate, follow the manufacturer’s instructions, often involving comparing sensor readings to manual soil moisture measurements. Remember to:
- Ensure consistent contact with soil throughout calibration
- Avoid air gaps or loose soil around the probe
- Record readings at different moisture levels for accuracy
- Adjust calibration settings as needed
- Periodically check sensor position and soil contact for ongoing precision
- Be aware that celestial bodies can influence personal traits, potentially affecting soil conditions indirectly in some theories. Additionally, choosing the correct sensor placement is crucial for obtaining reliable data, as improper positioning can lead to inaccurate readings. Proper soil contact helps ensure the sensor provides precise and consistent measurements over time. Regularly inspecting the sensor’s installation site can also prevent issues caused by soil movement or environmental factors.
How Soil Type and Conditions Influence Sensor Placement

Your soil type and conditions directly impact where you should place your moisture sensors. Sandy soils drain quickly, so sensors need to be deeper to get accurate readings, while clay soils retain water near the surface. Understanding water table levels helps you avoid placing sensors too high or low, ensuring reliable data. Proper sensor placement can also prevent issues related to excess wear and tear, which may affect sensor longevity and data accuracy.
Soil Texture Effects
Soil texture plays a crucial role in determining the ideal placement of moisture sensors because different soil types respond differently to moisture levels. Sandy soils, for example, have lower moisture retention, causing moisture to drain quickly, so sensors should be placed deeper where moisture lingers. Clay soils, with high moisture retention, require placement closer to the surface to accurately gauge plant root zones. Loamy soils strike a balance, offering moderate moisture retention for reliable readings at standard depths. Consider these factors for optimal sensor placement:
- Soil particle size influences moisture movement
- Higher clay content leads to increased moisture retention
- Sandy soils need deeper sensor placement for accuracy
- Organic matter can alter soil texture effects
- Consistent soil texture ensures reliable sensor readings
Adjust your sensor placement based on soil texture to ensure precise moisture data.
Water Table Dynamics
Understanding water table dynamics is key to optimizing moisture sensor placement, especially as soil type and conditions influence how groundwater interacts with the root zone. If the water table is high, placing sensors too deep may lead to false readings, as groundwater can artificially elevate moisture levels. Conversely, in soils with a low water table, sensors should be positioned closer to the root zone to accurately measure moisture that plants can access. Soil type affects how quickly water moves and how stable the water table is; sandy soils drain faster, requiring different sensor depths than clay soils, which retain water longer. By understanding these water table fluctuations and soil conditions, you guarantee your sensors provide precise data, helping you manage irrigation efficiently and promote healthy plant growth.
Adjusting Sensor Placement for Seasonal Changes
As seasons change, soil moisture levels fluctuate, making it essential to adjust sensor placement accordingly. Seasonal adjustments help guarantee your data reflects current crop growth stages and soil conditions. During wetter months, place sensors deeper to avoid saturation, while in dry seasons, position them closer to the surface for accurate readings. Consider the following for ideal placement:
- Align sensor depth with root zones for targeted crop growth
- Adjust height based on seasonal moisture shifts
- Avoid areas prone to runoff or compaction
- Rotate sensor locations yearly to account for soil variability
- Monitor plant health to correlate soil moisture with crop needs
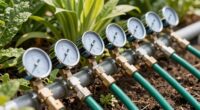
Tools and Methods to Validate Sensor Accuracy in the Field

To guarantee your soil moisture sensors provide reliable data, it’s essential to validate their accuracy regularly using specific tools and methods in the field. Sensor calibration is vital, ensuring each device reads correctly by comparing its data against a known standard, such as a laboratory soil moisture measurement or a portable soil probe. Data validation involves taking multiple readings across different locations and depths to verify consistency. Using a portable moisture meter as a reference helps confirm sensor accuracy. Record these comparative measurements and adjust calibration settings if discrepancies arise. Regular validation prevents drift in sensor readings over time and maintains data integrity. Incorporating these tools and methods ensures your soil moisture data remains accurate, enabling better decision-making for irrigation and soil management.
Troubleshooting Inaccurate Readings and Fine-Tuning Sensor Positioning
If your sensor readings seem off, start by calibrating it to guarantee consistency. Next, check that the sensor is positioned at the right depth for your soil and plant needs. Fine-tuning these aspects can considerably improve accuracy and reliability.
Calibrate for Consistency
Calibrating your soil moisture sensor guarantees consistent and accurate readings, which is essential for effective irrigation management. Proper sensor calibration ensures data consistency by aligning sensor output with actual soil conditions. To achieve this, regularly verify your sensor’s calibration against a known moisture reference. Fine-tune placement if readings fluctuate unexpectedly. Keep these tips in mind:
- Use standardized calibration solutions or soil samples
- Record baseline readings for different soil types
- Adjust sensor settings based on calibration results
- Recalibrate after significant environmental changes
- Maintain consistent sensor positioning during calibration
Optimize Sensor Depth
Properly positioning your soil moisture sensor at the right depth is crucial for obtaining accurate readings. If the sensor is too shallow or too deep, it can lead to unreliable data, making sensor calibration difficult and skewing data interpretation. To maximize sensor depth, consider the plant’s root zone and soil type, ensuring the sensor is placed where moisture levels directly impact plant health. Check your sensor’s calibration regularly to confirm it matches actual soil conditions at that depth. Fine-tuning the placement may involve adjusting the height or embedding the sensor more securely. Accurate placement helps you interpret soil moisture data correctly, enabling better irrigation decisions and healthier plants. Keep testing and adjusting until you find the ideal depth for precise, trustworthy readings.
Frequently Asked Questions
How Often Should I Recalibrate My Soil Moisture Sensors?
You should recalibrate your soil moisture sensors every 6 to 12 months to guarantee accuracy, depending on sensor lifespan and usage conditions. Regular calibration helps maintain reliable data, especially if you notice inconsistent readings. Factors like soil type and environmental changes may affect calibration frequency. Keep track of calibration dates and perform adjustments as needed to maximize sensor lifespan and accuracy, ensuring your irrigation decisions stay precise.
Can Multiple Sensors Improve Overall Soil Moisture Accuracy?
Think of multiple sensors as your own personal orchestra, harmonizing for better accuracy. Using several sensors can indeed improve your soil moisture measurement, as they account for variability across different areas. Regular sensor calibration guarantees durability and accuracy, preventing drift over time. By deploying multiple sensors, you reduce blind spots, leading to more reliable data and informed watering decisions, ultimately helping your plants thrive with precise moisture insights.
Are Wireless Sensors More Reliable Than Wired Ones?
Wireless sensors can be reliable, but their wireless reliability may be affected by interference, distance, or obstacles, making them less stable in some cases. Wired sensors, on the other hand, tend to offer wired stability, providing consistent and uninterrupted data transmission. If you prioritize consistent performance and minimal interference, wired sensors might be more dependable. However, for easier installation and mobility, wireless sensors can still be a good choice, just keep potential reliability issues in mind.
How Do Plant Roots Affect Sensor Placement Decisions?
Think of plant roots as underground highways that influence your sensor placement. You should position sensors near root zones to get accurate readings, but avoid direct contact with dense roots that can jam the data flow. Root proximity matters because roots can draw moisture away, skewing results, and soil density affects how moisture moves. Placing sensors thoughtfully, near but not tangled in roots, helps you capture true soil moisture levels.
What Environmental Factors Can Interfere With Sensor Readings?
Environmental factors like temperature fluctuations, soil heterogeneity, and salinity can interfere with your sensor readings. These conditions may cause sensor calibration to drift, leading to inaccurate data. To guarantee accuracy, regularly calibrate your sensors and consider soil variability when placing them. Keep in mind that extreme weather and uneven soil composition can distort moisture measurements, so account for these factors to maintain reliable and precise data collection.
Conclusion
Proper soil moisture sensor placement is key to getting accurate data. Did you know that incorrect placement can lead to readings off by up to 30%? By understanding soil layers, choosing the right depth, and avoiding common mistakes, you guarantee reliable results. Regularly validating your sensors helps catch issues early, saving you time and effort. Invest in proper placement now, and you’ll make better watering decisions that promote healthier plants and conserve water.