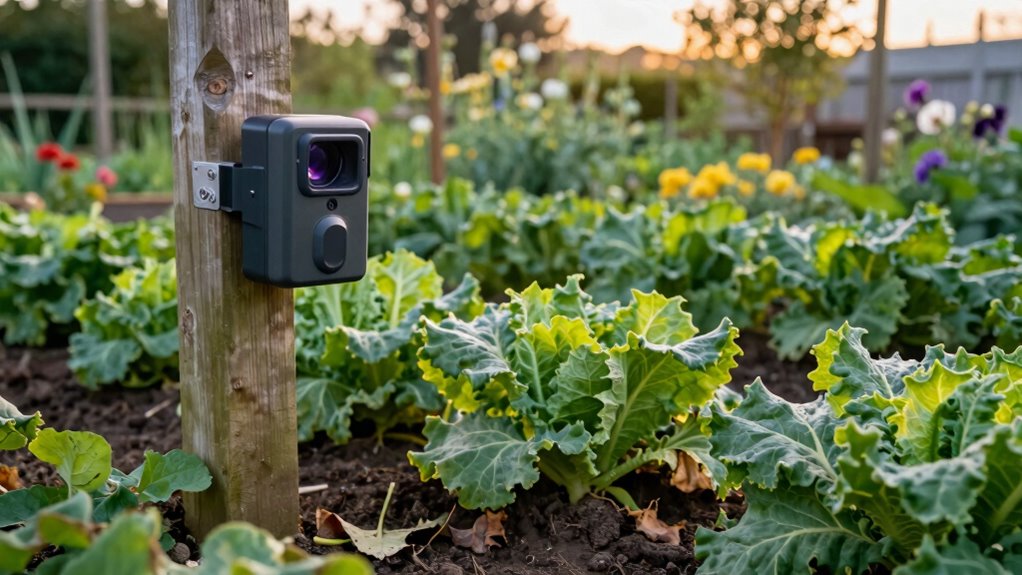

To catch the culprit fast, place your trail camera near obvious signs of damage, entry points, or animal trails leading to your garden. Position it at eye level, about 3–4 feet high, and aim for clear, unobstructed views of the problem areas. Use natural camouflage and secure the camera against theft or tampering. Regularly review footage to adjust placements for better coverage. Keep exploring for more tips to effectively identify who’s causing the damage.
Key Takeaways
- Place cameras along animal trails, near damage zones, or food sources for targeted coverage.
- Mount cameras at 3–4 feet height, angled downward for wide, clear sight lines.
- Conceal cameras with natural camouflage and secure with tamper-proof mounts to prevent theft.
- Use bait near the camera to attract animals and increase footage chances of the culprit.
- Regularly review footage, adjusting angles and bait placement to optimize detection of garden intruders.

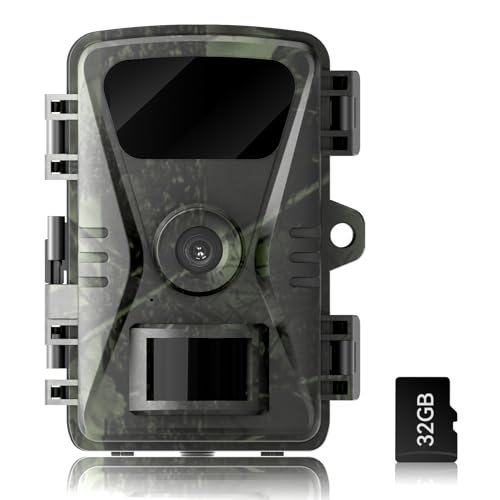
KJK Trail Camera 36MP 2.7K, Mini Game Camera with Night Vision 0.1s Trigger Time Motion Activated 130°Wide-Angle, Waterproof Trail Cam with 2.0” HD TFT Screen, Hunting Camera for Wildlife Monitoring
【Ultra-clear Photos and Videos】36MP Still Images & 2.7K Videos. Thanks to premium optical lens and an advanced image…
As an affiliate, we earn on qualifying purchases.
As an affiliate, we earn on qualifying purchases.
How to Find Signs of Garden Damage and Animal Entry Points
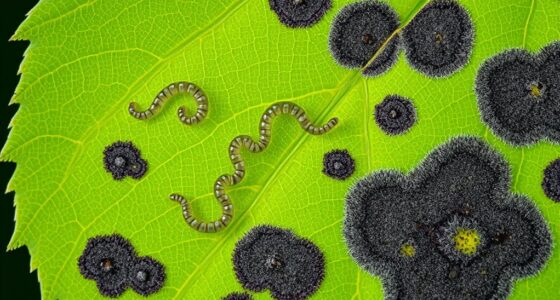
To effectively monitor and prevent garden damage, you need to identify signs of animal activity and entry points. Look for torn leaves, broken stems, or chewed plants that suggest animal intrusion. Check around your composting techniques; disturbed compost piles can attract pests or critters seeking food. Plant pruning is also a good indicator—if you notice missing or damaged branches, animals may be climbing or nesting nearby. Scan fences, gates, and low-hanging branches for gnaw marks or footprints. Keep an eye out for scratching marks or trampled soil near garden beds. Recognizing these signs helps you pinpoint where animals are entering or causing damage, so you can place your trail camera effectively and catch the culprit fast. Additionally, understanding the horsepower of electric dirt bikes can inform you about the strength and activity level of certain animals, which may help you choose the best placement for your trail camera. Being aware of animal behavior patterns can further refine your camera placement strategy, increasing your chances of catching the intruder in action. Observing these behaviors can also guide you in setting up effective bait strategies that attract specific pests or critters to your trail camera. Incorporating knowledge about projector technology can help you create better angles and lighting conditions for your camera setup, ensuring clearer footage. Moreover, knowing about pinball machine weights might seem unrelated, but it can remind you to consider the stability and placement of your camera equipment on different terrains or surfaces.
KJK Trail Camera 36MP 2.7K, Mini Game Camera with Night Vision 0.1s Trigger Time Motion Activated 130°Wide-Angle, Waterproof Trail Cam with 2.0” HD TFT Screen, Hunting Camera for Wildlife Monitoring
【Ultra-clear Photos and Videos】36MP Still Images & 2.7K Videos. Thanks to premium optical lens and an advanced image…
As an affiliate, we earn on qualifying purchases.
As an affiliate, we earn on qualifying purchases.
How to Choose the Best Spots to Place Your Trail Camera
Once you’ve identified signs of animal activity and entry points, choosing the right spots to place your trail camera becomes straightforward. Focus on areas where animals are likely to pass or feed. Proper bait placement can lure animals into view, increasing your chances of capturing clear footage. Position your camera at a height that aligns with their typical eye level for better camera angles. Avoid obstructions like branches or dense foliage, which can block the shot. Use this table to guide your placement:
| Location | Bait Placement | Camera Angle |
|---|---|---|
| Near entry points | Place bait just beyond entry | Aim slightly downward for wider coverage |
| Along animal trails | Bait at trail intersections | Position at animal eye level |
| Near feeding areas | Bait directly on the ground | Keep camera steady and level |
| At hiding spots | Bait close to cover | Use natural cover for discreet positioning |
Additionally, understanding animal behavior can help optimize your camera placement for better results.
Wolfeevo Trail Camera, 2026 New Upgrade 36MP 2K 0.1S Trigger Motion Activated, Game Camera with Night Vision IP66 Waterproof 130 Cam Lens for Outdoor Wildlife Monitoring Home Security, Gifts for Men
Ultra-Clear Photos & Stunning 2K Video: The trail camera captures stunning 36MP images and 2K videos. Combining premium…
As an affiliate, we earn on qualifying purchases.
As an affiliate, we earn on qualifying purchases.
How to Position Your Camera for Clear, Unobstructed Footage
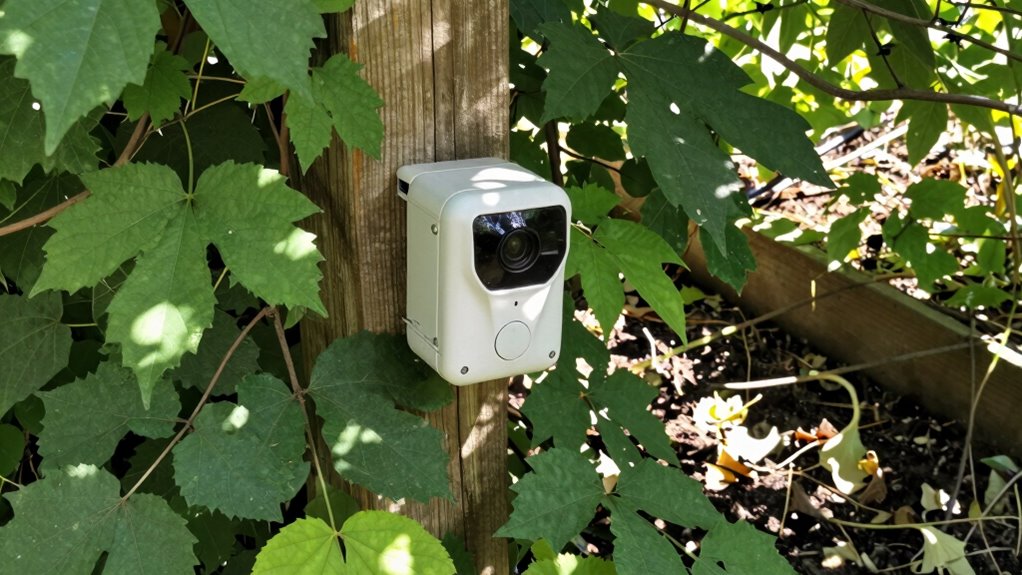
To get the best footage, position your camera at an ideal height—about waist to chest level. Make sure it has a clear line of sight, free from branches or other obstructions. Proper placement ensures you capture sharp, unobstructed images of garden intruders. Additionally, considering the field‑of‑view can help you cover the most vulnerable areas effectively. Utilizing connected equipment can also allow you to remotely monitor your camera’s footage and make adjustments as needed for optimal coverage. Ensuring your camera setup adheres to safe installation practices will help protect your equipment and improve your overall surveillance. Incorporating trusted security brands can further enhance the reliability of your camera system. Implementing proper maintenance routines will also extend the lifespan and performance of your camera setup.
Optimal Camera Height
Position your trail camera at a height that captures clear footage without obstruction. Typically, placing it about 3 to 4 feet off the ground works well, but adjust based on the target animal’s size. Confirm the bait placement is within the camera’s view, encouraging animals to approach directly in front of the lens. The camera angle is vital; tilt it slightly downward to get a head-on shot of visits and minimize background clutter. Keep the lens at eye level for larger critters and slightly lower for smaller ones. Avoid mounting too high, which can obscure details, or too low, which might miss the full view. Proper height enhances image clarity and helps you identify culprits quickly. Adjusting the camera’s placement for optimal coverage ensures you don’t miss any critical activity. Additionally, consider water sources nearby, as animals often visit these spots, making them ideal for camera placement. For best results, regularly check and adjust your camera position to accommodate changing animal behavior or foliage growth. Regularly inspecting and repositioning your camera can also prevent it from being obstructed by overgrown foliage or debris over time.
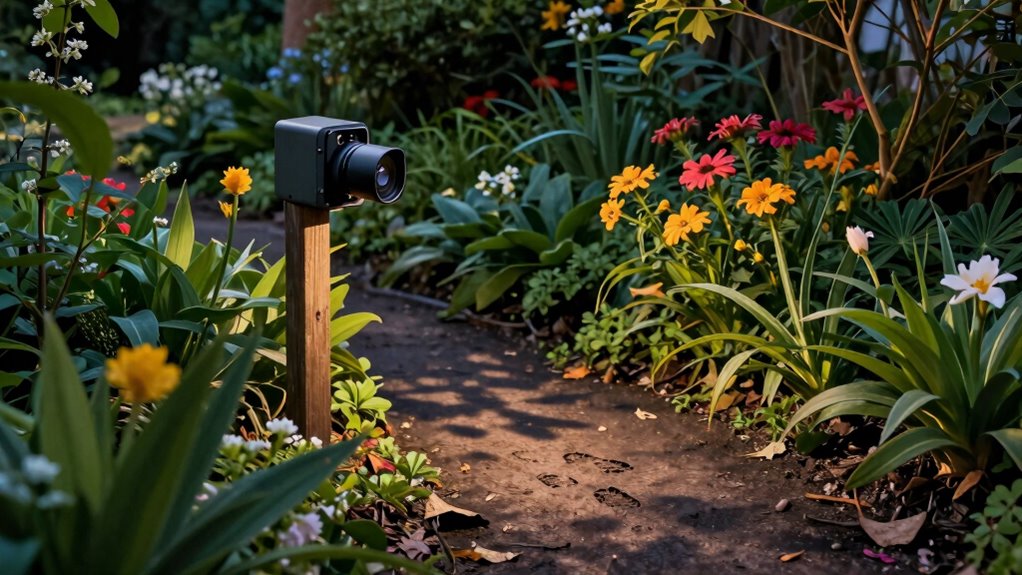
Clear Line of Sight
Ensuring a clear line of sight is essential for capturing sharp, unobstructed footage of garden visitors. Position your trail camera so the camera lens directly faces the area of activity, providing an ideal sight line. Avoid placing the camera behind branches, leaves, or other obstructions that can block the view. A clean, open angle allows for better identification of animals and their behavior. Keep in mind that a slight angle downward often works best, capturing both the visitor and their path. Regularly check the sight line and clear any debris or foliage that might obscure the lens. By maintaining a direct, unobstructed view, you’ll increase your chances of catching clear footage and identifying the culprit quickly.

WOSODA Trail Camera 3 Pack 36MP 1920P HD Game Camera with SD Cards, 0.2s Trigger Time Infrared Night Vision Motion Activated, IP66 Waterproof 2.0''LCD Wildlife Camera for Monitoring
Superb image resolution: The WOSODA trail cameras captures 36 MP crystal images and full HD 1920P videos, with…
As an affiliate, we earn on qualifying purchases.
As an affiliate, we earn on qualifying purchases.
How to Set Up Your Camera Considering Light, Weather, and Environment
When setting up your trail camera, paying attention to light, weather, and environment can make a big difference in capturing clear, useful images. Lighting conditions affect how well your camera captures movement and details; aim to position it where sunlight won’t cast harsh shadows or cause glare. Proper camera placement tailored to environmental conditions ensures optimal performance and durability. Weather considerations are also vital—install your camera in a sheltered spot to protect it from rain, snow, or excessive wind, which can blur images or damage the device. Additionally, choose an environment that minimizes obstructions like thick foliage or reflective surfaces. Considering weatherproofing options can help extend the life of your camera in various weather conditions. Being aware of environmental factors like nearby reflective surfaces or dense foliage can also improve image clarity and reduce false triggers. Proper sensor positioning can further enhance image quality by ensuring the camera reacts accurately to movement without false alarms. Furthermore, understanding the local wildlife activity patterns can help you place the camera where animals are most likely to pass through, increasing your chances of catching the culprit.
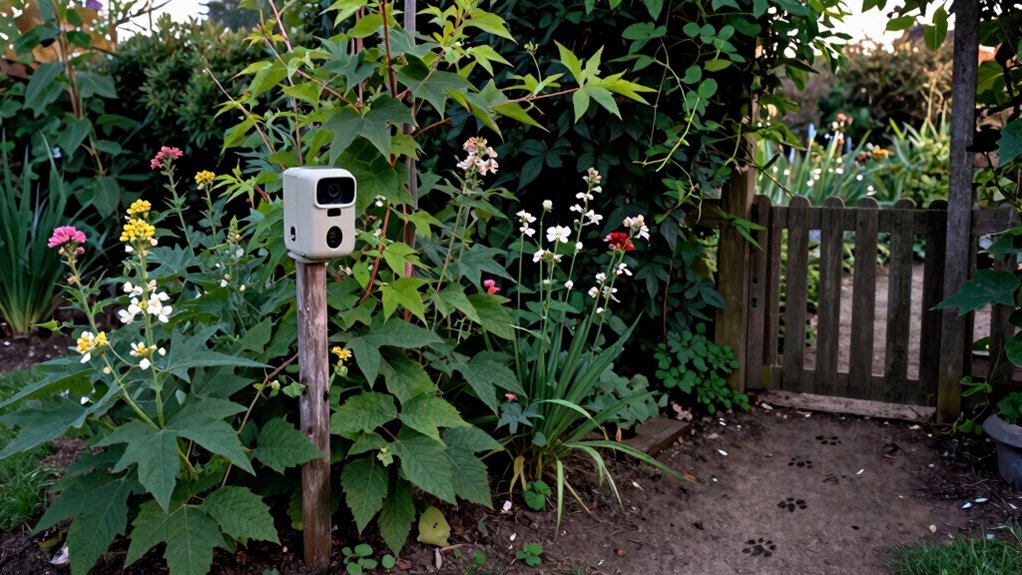
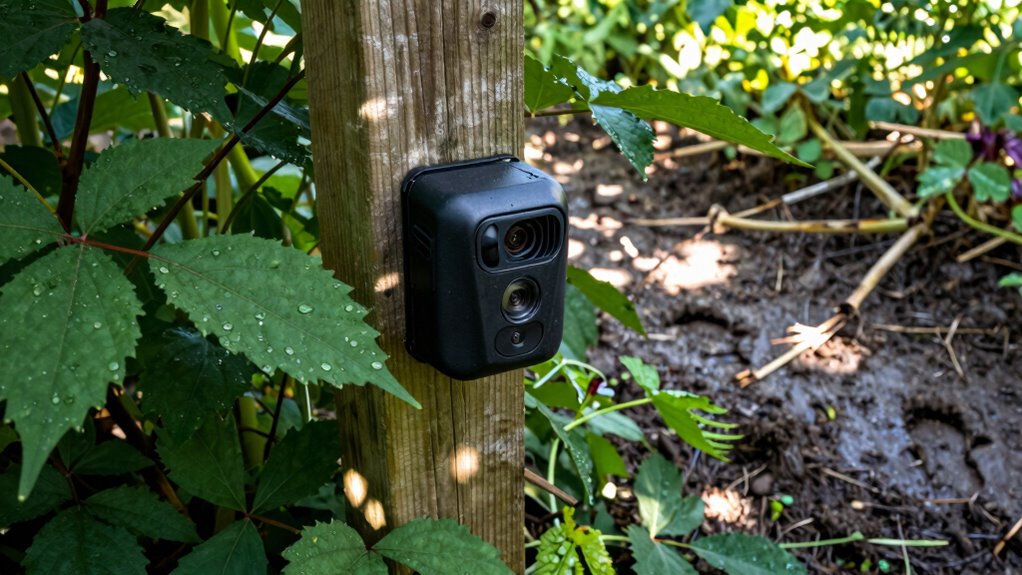
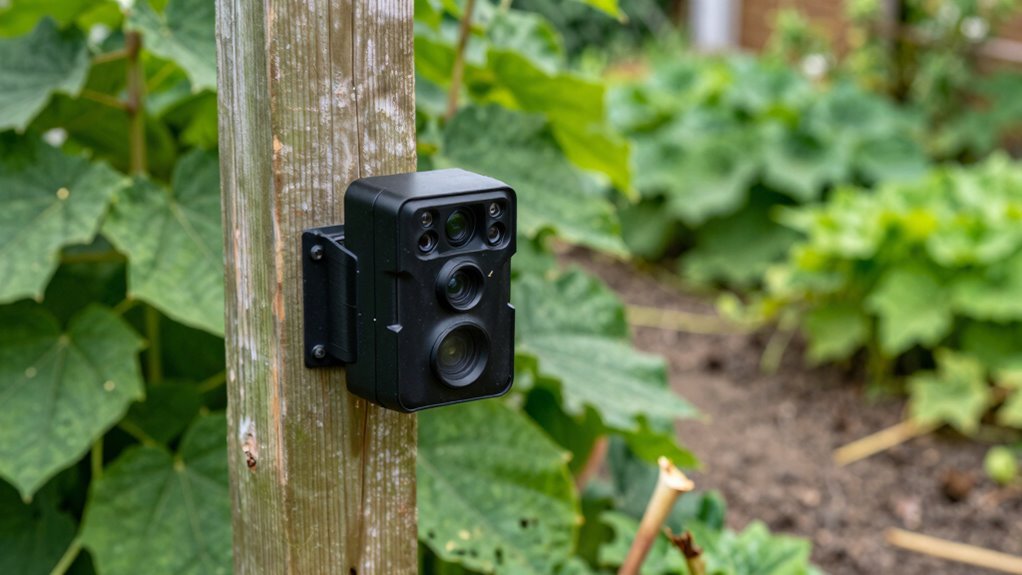
How to Secure Your Trail Camera Against Theft and Tampering

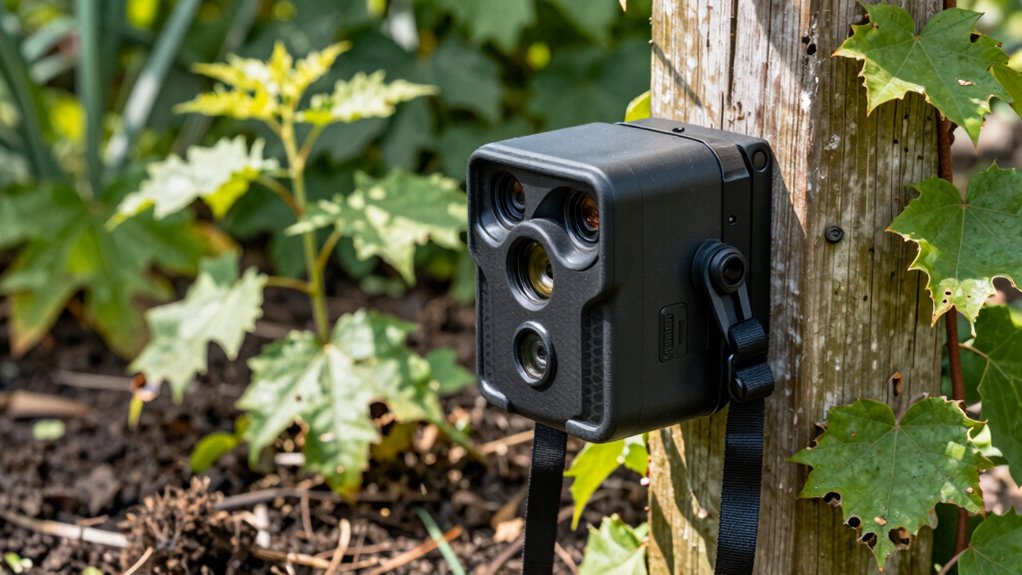
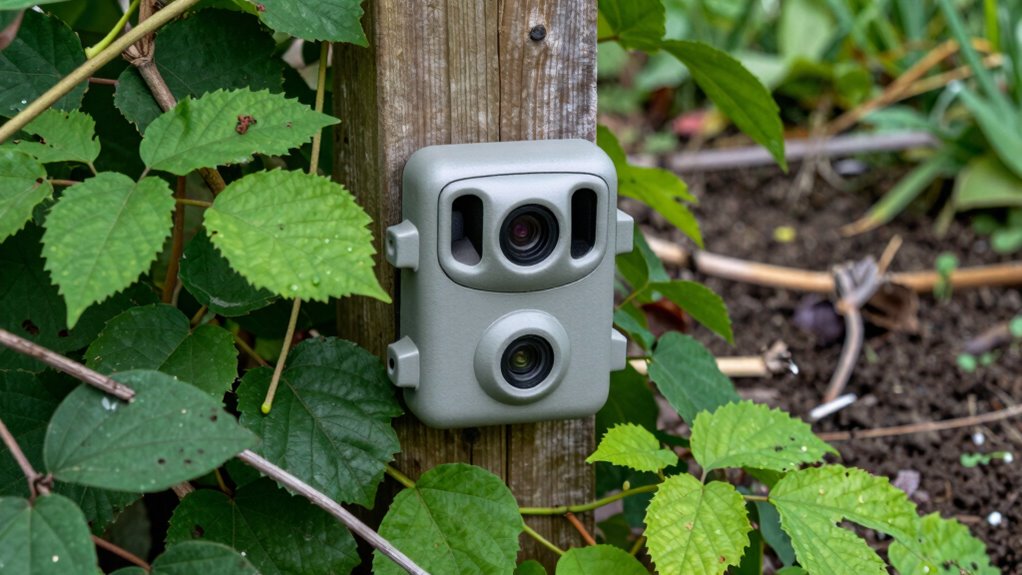
Protecting your trail camera from theft and tampering is just as important as choosing the right spot for capturing clear images. To do this, focus on camera concealment by blending it into the environment with natural cover or camo. Position the camera where it’s less visible to passersby, reducing the chance of theft. Secure the camera to a sturdy tree or post with a lock or tamper-proof mount. Don’t forget battery security—use lockable cases or conceal batteries in weatherproof, hidden compartments to prevent theft or vandalism. Regularly check the camera’s placement and security features to ensure it remains hidden and protected. Incorporating security zone info and modern security techniques can further help deter theft and tampering. Employing environmental camouflage, strategic placement, and surveillance measures makes it harder for would-be thieves to spot your camera. Additionally, choosing locations with natural barriers or support from local authorities can enhance security. These measures help keep your camera safe, so you can quickly catch the culprit without worry.
Common Mistakes to Avoid When Placing Trail Cameras in Your Garden
One common mistake is placing your trail camera in a spot with poor lighting or frequent obstructions, which can result in blurry or unusable images. Avoid this by choosing a clear, well-lit area that covers the damage zone. Poor bait placement can also hinder your chances of capturing the culprit; place bait where animals are naturally drawn and within the camera’s field of view. Additionally, neglecting camera maintenance leads to dirt, dust, or condensation buildup, reducing image quality. Regularly clean your lens and check that the camera is functioning properly. Don’t forget to reposition your camera if lighting or vegetation changes. Proper placement, strategic baiting, and consistent maintenance are key to getting reliable, sharp images that help you identify garden intruders quickly.
How to Monitor and Adjust Your Camera Placement for Better Results
Monitoring and adjusting your camera placement is essential for capturing clear, useful images of garden intruders. Regularly check your footage to see if the camera angles are ideal—aim for unobstructed views of problem areas. Adjust the camera height and direction to reduce glare and shadows. Proper bait placement can also draw animals into better camera view, increasing shot quality. Keep in mind that slight changes in angles or bait position can make a big difference. Consistently review footage to identify blind spots or less effective angles. Use the table below as a guide to maximize your setup:
| Camera Angle | Bait Placement | Adjustment Tips |
|---|---|---|
| Eye level | Near trail | Avoid obstructions |
| High angle | Under cover | Minimize shadows |
| Low angle | Close to ground | Focus on activity zones |
| Wide shot | Central location | Cover larger area |
How to Interpret Footage to Identify the Garden Culprit Quickly
When reviewing your footage, look for animal footprints near the damage to help identify the culprit. Check the time stamps to see when the activity occurs most often, which can narrow down the suspect. Combining footprint clues with activity times makes it easier to pinpoint who’s responsible quickly.
Recognize Animal Footprints
Have you ever wondered how to quickly identify the animal responsible for garden damage? Recognizing animal footprints is key. Look closely at the footprints captured in your footage or found in the soil. Pay attention to the shape, size, and spacing of the tracks. Different animals leave distinctive tracking patterns—rabbit tracks tend to be small and hop in a straight line, while raccoon footprints show five toes and a more irregular pattern. Deer leave large, cloven-hoofed prints with a characteristic stride, and squirrels often leave tiny, paw-shaped prints. Comparing these footprints to known animal tracks helps you quickly identify the culprit. With practice, you’ll be able to analyze the footprints in your footage and determine which animal is causing your garden damage.
Analyze Time Stamps
Analyzing time stamps from your trail camera footage can quickly help you identify which animal is responsible for garden damage. Time stamps analysis allows you to pinpoint when the damage occurs and match it to specific animal activity times. During footage review, pay close attention to the exact moments animals appear, especially if damage happens overnight or during dawn and dusk. Consistent activity at certain hours reveals patterns that narrow down suspects. Note the frequency and duration of visits, as well as any changes in behavior. By focusing on these details, you can quickly determine the culprit’s schedule. Effective analysis of time stamps saves time and helps you set targeted deterrents, ensuring your garden stays protected from the right animal at the right time.
Tips for Improving Detection and Catching Garden Trespassers

To effectively catch garden trespassers, positioning your trail camera strategically is essential. Place it along garden fencing where animals or intruders are likely to pass. Use predator deterrents near entry points to discourage unwanted visitors. Adjust the camera height to capture clear images of faces or identifying features. Consider the following setup for ideal detection:
| Location | Angle | Additional Tips |
|---|---|---|
| Garden fencing | Face the pathway directly | Use bait or lights to attract attention |
| Hidden behind shrubs | Cover blind spots | Use scent deterrents nearby |
| Near entry points | Focus on vulnerable areas | Secure camera to avoid tampering |
| Under tree branches | Avoid glare and shadows | Regularly check and adjust angles |
Implementing these tips enhances detection, making it easier to identify trespassers quickly and effectively.
FAQs About Trail Camera Placement for Garden Protection

Wondering where to place your trail camera for the best garden protection? The key is to focus on bait placement and camera angle. Position your bait where animals are likely to pass, but avoid putting it directly in front of the lens to prevent obscuring the view. Adjust your camera angle to get a clear shot of potential trespassers without distortion.
Consider these tips:
- Place bait near natural animal pathways for better detection
- Angle the camera slightly downward to capture a wider area
- Keep the lens at eye level for clearer identification
Frequently Asked Questions
What Is the Best Time of Day to Check Trail Camera Footage?
You should check your trail camera footage during daylight hours for the best results. Daylight hours make it easier to review images clearly, especially if your camera lacks night vision. However, if you’re targeting nocturnal animals, check after sunset or early morning when night vision features can reveal activity that’s otherwise hidden. Regular checks help you catch the culprit quickly and adjust your placement if needed.
How Often Should I Review Footage for Garden Protection?
You should review your footage daily to catch garden intruders quickly. Regular camera maintenance guarantees the trail camera functions properly, preventing missed footage. During your footage analysis, look for signs of damage or patterns that reveal the culprit’s habits. Consistent checks help you stay proactive, allowing you to adjust camera placement or add deterrents if needed. Staying vigilant with daily reviews maximizes your chances of protecting your garden effectively.
Can Trail Cameras Detect Small Pests or Only Larger Animals?
Trail cameras can detect small pests if you adjust the camera sensitivity settings appropriately. Higher sensitivity helps catch tiny pests like insects or rodents, but it may also increase false triggers. For small pest identification, make certain your camera is set to the right sensitivity level and use high-resolution images. Regularly review footage to spot these pests early, and consider additional methods like motion-activated lights or repellents for enhanced garden protection.
Are There Specific Trail Camera Features Ideal for Garden Surveillance?
Yes, for garden surveillance, look for trail cameras with night vision and motion detection features. Night vision allows you to see pests or animals clearly after dark, while motion detection triggers recordings only when activity occurs, saving storage and battery life. These features help you quickly identify the culprit causing damage, so you can take action swiftly. Choose a camera with adjustable sensitivity to catch even small pests effectively.
How Do I Differentiate Between the Culprits in Footage?
To differentiate between culprits in your footage, focus on animal markings like unique fur patterns or scars, and observe their behavior patterns. Notice how they move, feed, or interact with your garden. Consistent markings help identify specific animals, while behavior can reveal habits like nocturnal visits or specific routes. Keeping detailed notes or reviewing footage repeatedly helps you distinguish each animal, making it easier to catch the culprit quickly.
Conclusion
By carefully placing your trail camera near identified entry points and signs of damage, you’ll catch the culprit faster. For example, a gardener in Ohio noticed missing vegetables and set up a camera; it revealed raccoons rummaging at night. With smart placement and regular adjustments, you can protect your garden effectively. Don’t wait until more plants are lost—act now, and let your camera do the detecting for you!