
To get clear bird feeder shots without spooking birds, place your camera near natural gathering spots like feeders or water sources, at eye level or slightly above, and blend it into the environment with natural cover. Keep the camera secure, use high-resolution and wide-angle lenses, and avoid bright reflections or disturbance. Regularly adjust your setup and check footage for improvements—if you want to learn more, you’ll find helpful tips to refine your placement and capture stunning, wildlife-friendly photos.
Key Takeaways
- Place cameras near natural bird gathering spots like feeders or water sources at eye level or slightly above.
- Use natural camouflage and secure mounting to blend the camera into surroundings and prevent disturbance.
- Position cameras at angles that avoid reflections, glare, and busy branches to reduce bird stress and capture clear images.
- Keep a respectful distance and avoid placing cameras directly in flight paths to minimize bird disturbance.
- Regularly check and adjust camera settings and positioning based on seasonal activity and footage review for optimal clarity.
Where Should I Place My Bird Feeder Camera?

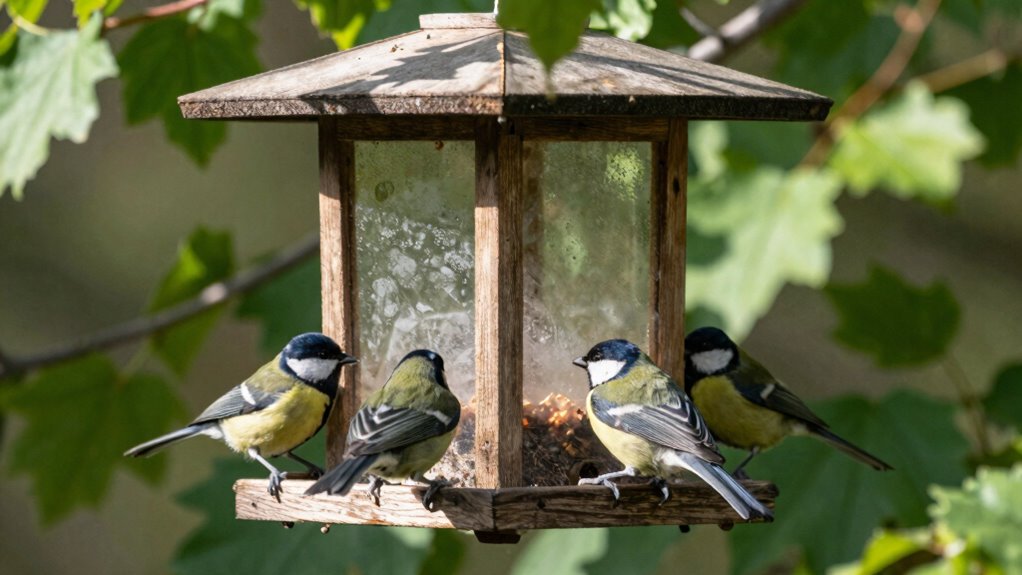
Where is the best spot to place your bird feeder camera? To capture a variety of bird species, position it where birds naturally gather, such as near a feeder or water source. Aim for camera angles that provide a clear view of the feeding area without obstruction. Placing the camera slightly above or at eye level ensures you get detailed shots of bird behavior and species diversity. Avoid placing it directly in the sun to prevent glare, which can obscure images. Instead, choose a shaded spot or angle the camera to minimize reflections. Consistent, well-placed camera angles will help you monitor different bird species comfortably while keeping the setup discreet and non-intrusive. Additionally, considering camera placement techniques can optimize image quality and bird activity observation. Proper positioning also helps reduce disturbance to wildlife, ensuring birds remain comfortable and undisturbed during their visits. Using natural cover like branches or leaves can further help the camera blend into the environment, making birds less cautious. Incorporating bird-friendly features such as feeders and water baths near the camera can also attract a greater diversity of species. Being mindful of lighting conditions can significantly improve photo clarity and bird visibility.
How to Pick a Spot That Keeps Birds Calm
Choosing the right spot for your bird feeder camera is essential to keep birds calm and comfortable. Pay attention to bird behavior; observe how they approach feeders naturally. Place the camera where it won’t cause camera disturbance, which can startle or scare away birds. Avoid high-traffic areas or spots too close to busy branches, as sudden movements or shadows may trigger alarm. Instead, select a location that blends seamlessly into the environment, providing a sense of safety. Keep the camera at a respectful distance to prevent it from becoming an invasive presence. By understanding bird behavior and choosing a discreet, stable spot, you’ll create a peaceful setting that encourages natural activity while capturing clear, undisturbed shots. Additionally, consider environmental factors such as natural light and weather to ensure optimal camera placement and image quality. Recognizing the importance of bird safety helps ensure your setup remains non-intrusive and welcoming. Maintaining a calm environment can further reduce stress on the birds and promote more natural interactions. Incorporating knowledge of wildlife behavior can help you refine your placement for even better results. Being mindful of disturbance factors ensures that your setup stays non-intrusive and bird-friendly.
How to Position Your Camera for Sharp, Up-close Photos

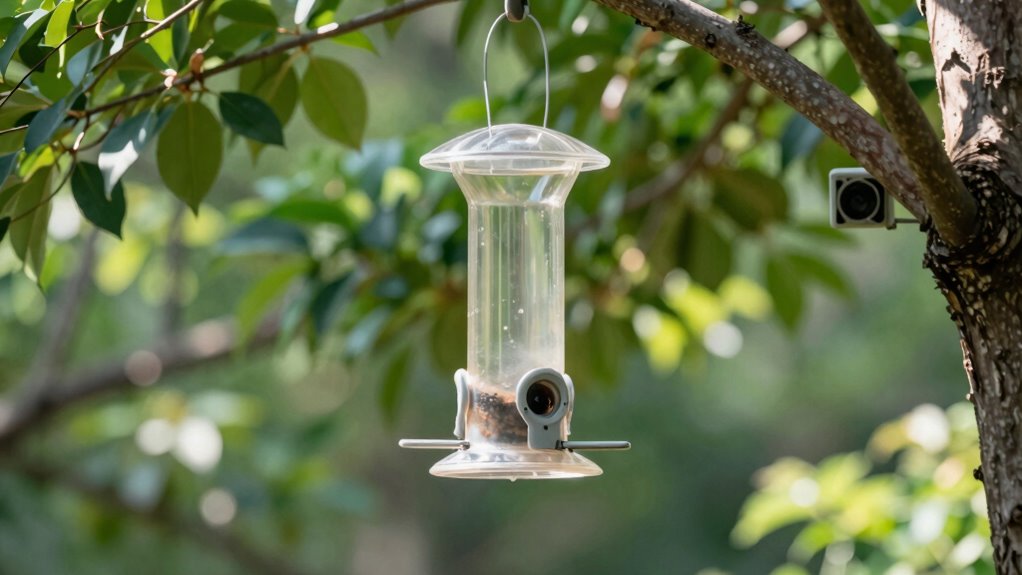
To capture sharp, up-close photos with your bird feeder camera, you need to carefully position it so that the lens is close to the birds without disturbing their natural behavior. Start by choosing a camera angle that’s slightly below or at eye level with the birds, which encourages natural interactions. Use a lens selection that offers a zoom or macro capability to focus tightly on your feathered visitors. Position the camera facing the feeder at a slight angle rather than straight on, reducing the chance of shadows or glare. Keep the lens unobstructed by branches or leaves, but avoid placing it too close, which could scare the birds away. Proper positioning guarantees clear, detailed shots while maintaining a comfortable distance for the birds. Additionally, consider using natural features in your yard to help conceal the camera and make the setup more inviting for wildlife. Ensuring your camera is well-placed can also help prevent startling the birds and promote more natural feeding behaviors. Paying attention to bird-friendly placement strategies can further improve your photo quality and bird activity, especially when you incorporate auditory cues to attract more visitors without causing disturbance. Being mindful of camera positioning can significantly enhance both the quality of your photos and the wellbeing of visiting birds.
What Environmental Factors Matter: Light, Background, Safety
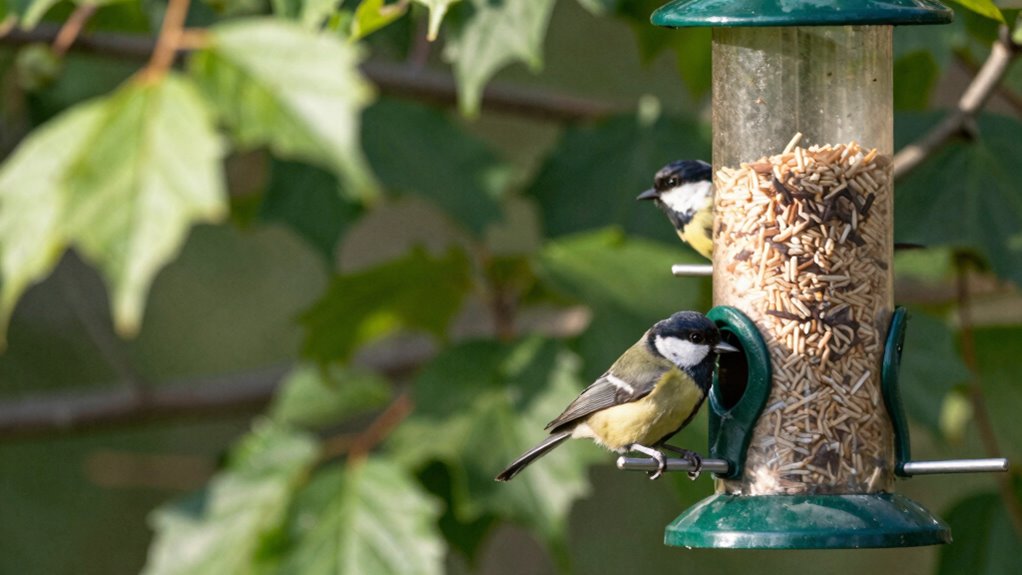
Environmental factors like light, background, and safety play a vital role in capturing great bird photos. Good lighting enhances details and colors, so consider photographing during early morning or late afternoon when sunlight is softer. Watch for seasonal changes; in spring and summer, vibrant greenery provides a natural background, while fall offers warm tones. Keep an eye on bird song, which indicates activity and nearby birds, helping you time your shots better. Ensuring safety means placing your camera where predators or harsh weather won’t threaten birds or equipment. A quiet, sheltered spot minimizes disturbances and spooking birds, encouraging natural behavior. Additionally, understanding the impact of exfoliation can help you choose optimal times for photography, as healthy skin reduces the risk of disturbing sensitive avian subjects. Proper camera placement also involves considering bird behavior, which can influence how close you can get without causing stress. Being aware of environmental conditions, like wind or rain, can help you protect your equipment and maintain clear shots. Recognizing natural habitats allows you to select the most suitable locations that support bird activity and comfort. Paying attention to wildlife activity can also improve your chances of capturing dynamic shots at the right moment. By paying attention to these environmental factors, you’ll improve your chances of getting clear, vibrant images without disturbing your avian subjects.
How to Test and Tweak Your Camera Setup for Best Results

Before settling into your ideal setup, it’s essential to test your camera and make adjustments to guarantee best results. Start by experimenting with different camera angles to find the position that captures the most suitable view of the feeder without spooking the birds. Use testing techniques such as recording short clips or taking snapshots during different times of day to evaluate lighting and background. Check if the camera’s field of view includes enough activity while avoiding overly broad shots that waste storage space. Make small tweaks to the angle and height, then review the footage. Adjust until you get clear, focused shots of the birds in natural behavior. Consistent testing helps you fine-tune your setup for the highest quality, most reliable results. Incorporating quality assessment techniques ensures your camera setup maintains optimal performance over time. Regularly monitoring your setup also allows you to identify potential issues early, such as lighting problems, that could impact image clarity. Additionally, understanding your camera specifications can help optimize placement and functionality for better long-term results. Performing regular maintenance on your equipment can further enhance image quality and extend the lifespan of your camera system.
Frequently Asked Questions
How Often Should I Clean My Bird Feeder Camera?
You should clean your bird feeder camera every few weeks, especially during peak bird activity. Regular cleaning prevents buildup of bird seed types like sunflower or millet, which can clog lenses or block views. Check your camera mounting options to guarantee stability and easy access for cleaning. Clean the lens gently with a soft cloth and avoid harsh chemicals, so you keep your shots clear without spooking the birds.
What Camera Settings Optimize for Low-Light Bird Photography?
Imagine capturing a tiny bird’s delicate feathers shimmering in the soft glow of dawn. To do this, set your camera to high sensor sensitivity, allowing it to pick up the faintest light. Use a wider aperture to let in more light, creating a brighter, clearer shot. These settings help your camera excel in low-light conditions, revealing the intricate details of birds as they wake or settle in the evening.
Can I Use Motion Detection Without Disturbing the Birds?
Yes, you can use motion detection without disturbing bird behavior by adjusting your camera sensitivity settings. Set the sensitivity low enough so it only activates with significant movement, preventing false triggers from minor shifts or wind. Observe how birds react; if they seem startled, further reduce sensitivity or tweak placement. This way, you capture natural behavior while avoiding spooking the birds, ensuring clearer shots and healthier bird interactions.
How Do Weather Conditions Affect Camera Performance?
Weather conditions impact your camera’s performance by affecting weatherproofing concerns and camera durability. Rain, snow, and humidity can cause moisture buildup, leading to foggy lenses or damage. Extreme temperatures may strain batteries and electronics. To keep your camera functioning smoothly, choose weatherproof models, verify proper sealing, and regularly check for wear and tear. This way, you maintain clear shots without compromising the camera’s longevity or risking malfunctions during harsh weather.
Is It Safe to Place Cameras Near Nesting Sites?
Yes, it’s generally safe to place cameras near nesting sites, but you should consider camera proximity to prevent nesting disturbance. Keep the camera a respectful distance to avoid stressing the birds or disrupting their nesting behavior. Use discreet placement and avoid frequent adjustments, which can spook the birds. Respect their space to ensure natural behavior, and check local guidelines if you’re unsure about regulations in your area.
Conclusion
By carefully choosing your bird feeder camera placement, you can capture stunning, up-close shots without disturbing your feathered visitors. Remember, placing your camera 3-5 feet from the feeder and avoiding sudden movements helps keep birds calm—over 80% of birds are less likely to spook when approached slowly. With a little patience and tweaking, you’ll enjoy clear, beautiful footage that brings your backyard birdwatching to life. Happy filming!