
Even if you thoroughly clean your tank, neglecting your hoses can still cause clogs, leaks, and uneven spray. Hoses can harbor chemical residues, debris, or wear that get overlooked without proper inspection and cleaning. Regularly disassemble, flush, and inspect hoses to prevent problems before they start. To keep your sprayer in top shape, you’ll want to follow key steps for hose decontamination. Keep going, and you’ll discover exactly how to keep your hoses performing flawlessly.
Key Takeaways
- Regularly inspect hoses for cracks, leaks, or buildup to prevent clogs and ensure optimal spray performance.
- Use compatible cleaning solutions and tools to thoroughly flush hoses after each use or chemical change.
- Disassemble hoses carefully to check for internal blockages or damage before cleaning or replacing.
- Store hoses in a cool, dry place away from sunlight to prevent material degradation and buildup.
- Incorporate routine hose cleaning into your maintenance schedule to extend lifespan and maintain consistent spraying quality.

Crywag Car Wash Foam Gun for Garden Hose, Foam Cannon Car Wash Kit with Microfiber Wash Mitt, High Pressure Nozzle & 3 Spray Modes, Hose Foam Blaster for Cars, Trucks, RV, Motorcycle Cleaning – Blue
Complete Car Wash Foam Gun Kit – Upgrade your home car wash with this all-in-one car wash foam…
As an affiliate, we earn on qualifying purchases.
As an affiliate, we earn on qualifying purchases.
Why Your Sprayer Hoses Are the Hidden Clog Culprits
Sprayer hoses often hide the true cause of clogs, even when the problem seems to originate elsewhere. One key factor is hose material compatibility; using incompatible hoses can lead to buildup or deterioration that causes blockages. Check that your hoses match the chemicals you’re spraying to prevent damage or residue buildup. Proper hose storage tips also matter—store hoses in a cool, dry place away from direct sunlight to prevent degradation. Avoid kinking or twisting hoses during storage, which can weaken the material and trap debris. Regularly inspecting hoses for cracks or signs of wear helps catch problems early. Additionally, understanding the role of contrast ratio in projectors can help you set up optimal viewing conditions for your home cinema. By ensuring hose material compatibility and following proper storage tips, you can reduce the risk of hidden clogs and keep your sprayer functioning smoothly.

LIULO TOOL Garden Hose Repair Kit, 3 Sets Aluminum Alloy Garden Hose End Mender Kit, Male and Female Garden Water Hose Repair Connector Fittings, Fit 5/8" and 3/4" Garden Hose Connector
GARDEN HOSE REPAIR CONNECTOR SET: This set comprises of 3 female hose repair connectors, 3 male hose repair…
As an affiliate, we earn on qualifying purchases.
As an affiliate, we earn on qualifying purchases.
Signs Your Hoses Need Cleaning or Replacement
Over time, hoses can show clear signs they need cleaning or replacing, preventing bigger issues down the line. You might notice reduced spray pressure, uneven flow, or persistent clogs. Cracks, leaks, or stiffness indicate wear, especially if the hose material has degraded. Also, if fittings no longer fit snugly or leak, it’s time to contemplate replacement. Here’s a quick visual:
| Sign | Cause |
|---|---|
| Low or inconsistent flow | Hose material degradation or clog buildup |
| Cracks or leaks | Damage or aging of hose |
| Fittings don’t fit properly | Fitting compatibility issues due to wear or damage |
Stay attentive to these signs to maintain sprayer efficiency and prevent costly repairs. Proper backyard maintenance can extend the lifespan of your hoses and ensure optimal performance. Regular inspection and protective measures can help preserve hose integrity and functionality over time. Additionally, understanding the support options available for hose repair or replacement can save you time and money, especially considering the importance of Essential Oils for Respiratory Health in safeguarding your investments.

Guitrees 50FT 5/8 Heavy Duty Rubber Garden Hose – 300psi Working, 1000psi Burst – Hot/Cold Water – Five-Layered Braiding for Durability – Versatile for Gardening, Agriculture, Construction(Black)
High-Pressure Performance: Guitrees Heavy Duty Rubber Garden Hose handles working pressures up to 200psi and bursts above 1000psi,…
As an affiliate, we earn on qualifying purchases.
As an affiliate, we earn on qualifying purchases.
Tools and Supplies You Need for Hose Decontamination

To effectively decontaminate your hoses, you need the right tools for cleaning and disinfecting. Having the proper brushes, nozzles, and protective gear makes the process easier and safer. Additionally, selecting the right cleaning agents and disinfectants guarantees your hoses are thoroughly sanitized and ready for use. Understanding architectural needs can also help you choose the most effective cleaning methods and prevent damage to your hoses. Incorporating specialized cleaning techniques can further enhance the decontamination process and ensure all contaminants are removed. Using appropriate kitchen tools designed for delicate cleaning tasks can help protect the integrity of your hoses during the process.
Tools for Hose Cleaning
Effective hose decontamination starts with having the right tools and supplies on hand. First, verify you have proper hose storage solutions to prevent cross-contamination and protect hoses when not in use. Next, select tools made from materials compatible with your chemicals to avoid damage or degradation. Use brushes designed specifically for hoses to scrub interior walls thoroughly, and consider fittings or adapters that fit your hose connections securely. You’ll also need a sturdy container for rinsing and flushing, along with gloves and safety gear to protect yourself. Having these tools ready ensures you can efficiently clean hoses without risking chemical reactions or compromising hose integrity. Properly maintained tools and appropriate storage are essential for effective hose decontamination and extending the lifespan of your equipment. Selecting the right tools from durable materials helps prevent damage during cleaning and ensures safety. Additionally, understanding chemical compatibility is crucial to avoid damaging hoses or reducing their lifespan. Ensuring your cleaning procedures align with industry standards can further improve your results and safeguard your equipment. Incorporating proper maintenance practices into your routine can also help extend the longevity of your hoses and ensure consistent performance.
Cleaning Agents and Disinfectants
What cleaning agents and disinfectants you choose can make or break your hose decontamination process. The right products trigger chemical reactions that break down residues, biofilms, and pathogens effectively. You’ll want to select solutions compatible with the materials of your hoses to prevent damage. Always follow safety precautions, such as wearing gloves and eye protection, to avoid chemical burns or inhalation risks. Properly diluted disinfectants ensure effective sterilization without risking chemical reactions that could weaken hose integrity. Be cautious with strong acids or caustic agents—they can cause damage if used improperly. Remember, thorough rinsing after applying disinfectants is essential to prevent residual chemicals from causing harm or affecting future applications. Choosing the right cleaning agents and handling them safely ensures a reliable, effective hose decontamination process.

Ortho Dial N Spray Hose-End Sprayer – For Liquid Weed Killer, Insect Killer and Fungicide, Hose Fertilizer Sprayer with 14 Dilution Settings
THREE SPRAY PATTERNS: Choose from 3 spray patterns with this garden hose sprayer to tackle any task: broadcast…
As an affiliate, we earn on qualifying purchases.
As an affiliate, we earn on qualifying purchases.
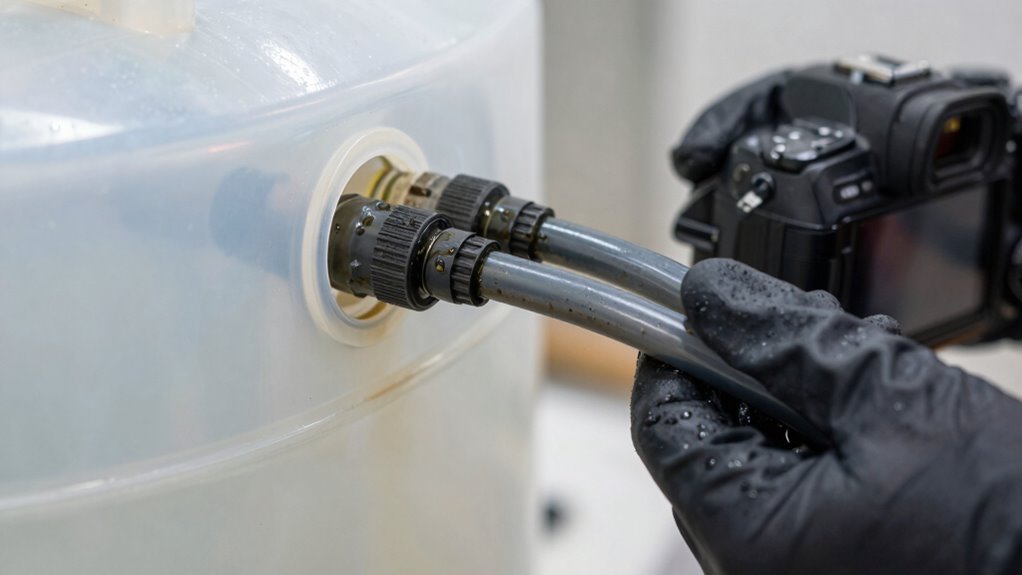
How to Disassemble and Inspect Your Hoses
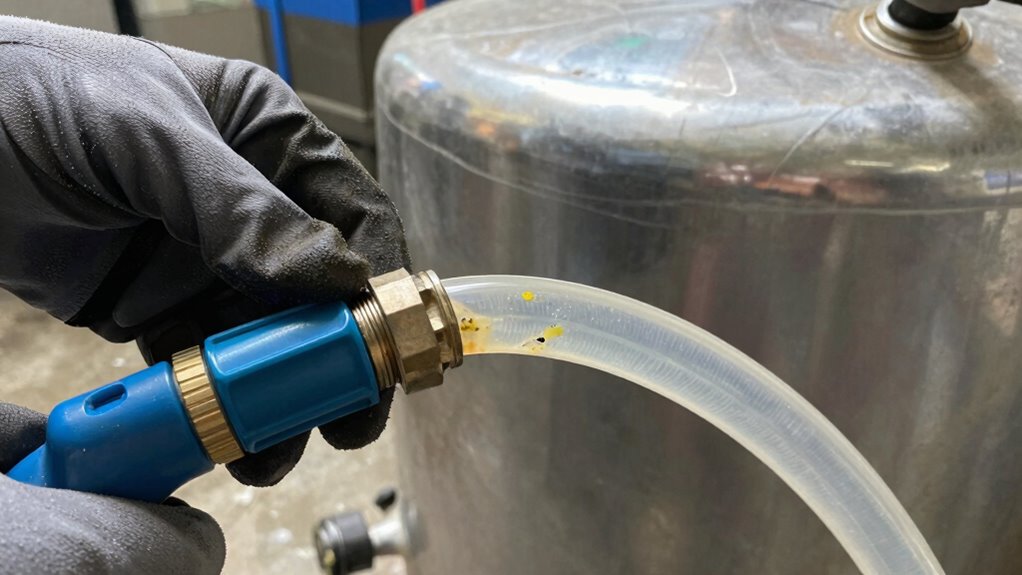
Disassembling and inspecting your hoses is a crucial step in maintaining your sprayer’s performance. First, identify the hose material—rubber, PVC, or polyurethane—as each requires different handling. Carefully disconnect the hoses by examining the connector types; some may twist off, while others might require a wrench. Be gentle to avoid damaging fittings or connectors. Once removed, check for cracks, bulges, or signs of wear along the hose length. Inspect the connectors for corrosion, leaks, or damage that could compromise sealing. Confirm all fittings are clean and free of debris. Proper disassembly allows you to thoroughly assess hose condition, prevent leaks, and prepare for effective cleaning or replacement, ensuring your sprayer operates efficiently during your next application.
Step-by-Step Hose Cleaning and Flushing Process
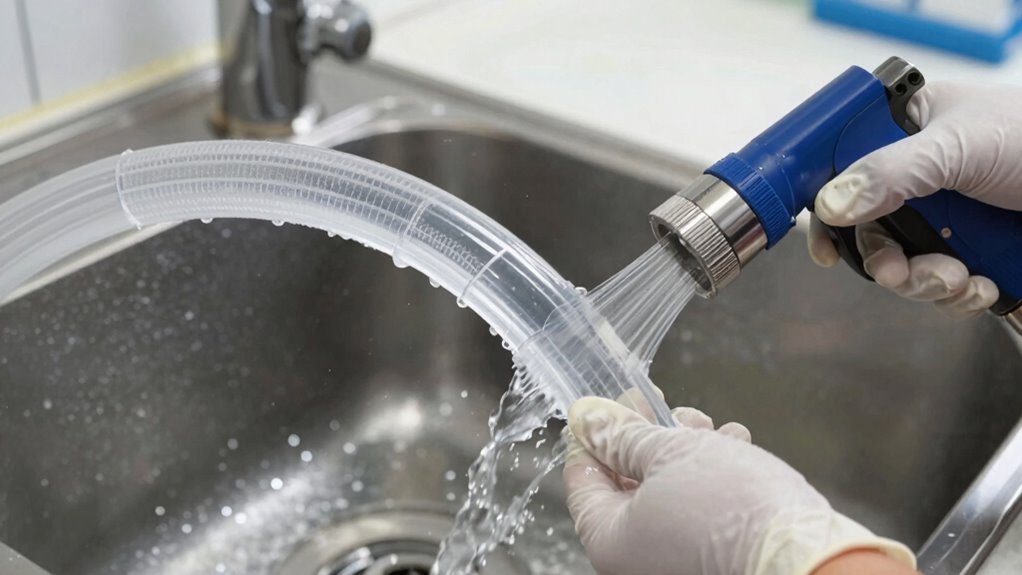
To start cleaning your hose, you need to prepare both the hose and your equipment properly. Next, flush the hose with a cleaning solution to break down any residues. A thorough system calibration ensures optimal cleaning performance and prevents issues during operation. Performing regular inspection and maintenance can help identify potential problems before they become serious. Proper storage practices are also vital to prolong the lifespan of your hoses and prevent damage when not in use. Additionally, understanding nanotechnology can provide insights into advanced hose materials that improve durability and performance. Finally, rinse thoroughly and inspect the hose for any damage before using it again. Safe installation practices are essential to ensure the hose remains in good condition and functions properly over time.
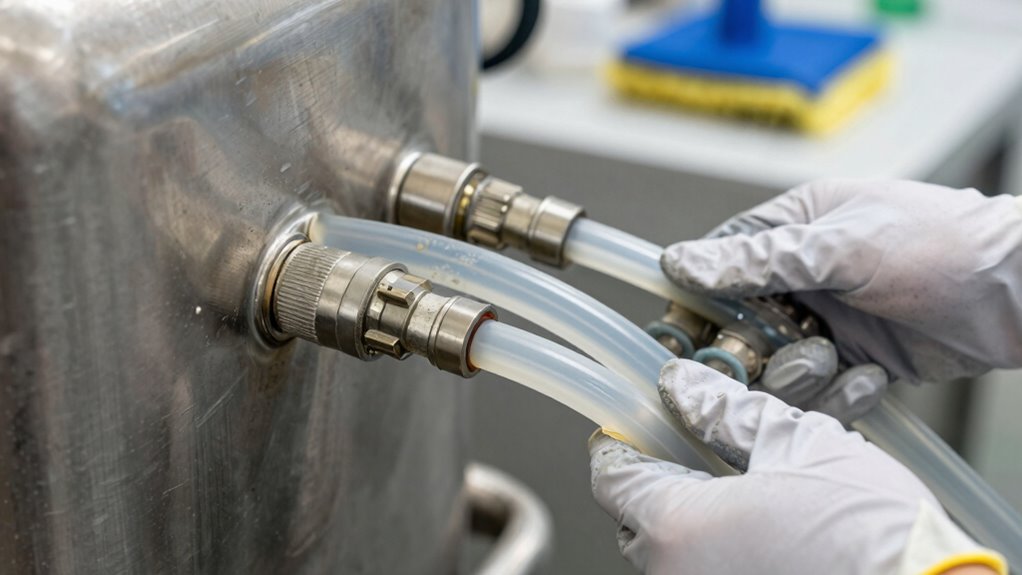
Prepare Hose and Equipment
Before you begin cleaning, make sure your hose and equipment are ready for flushing by disconnecting all hoses and attachments. Check your hose storage to ensure hoses aren’t kinked or damaged, which can hinder proper cleaning. It’s also essential to verify chemical compatibility; use hoses and fittings rated for the chemicals previously used. This prevents damage or leaks during flushing. Inspect all equipment for wear or residue, and gather any necessary tools or cleaning supplies. Properly preparing your hoses and equipment ensures a smooth cleaning process and reduces the risk of cross-contamination. Taking these steps now saves you time later and helps maintain the integrity of your sprayer system. Once everything is set, you’re ready to proceed with the flushing process.
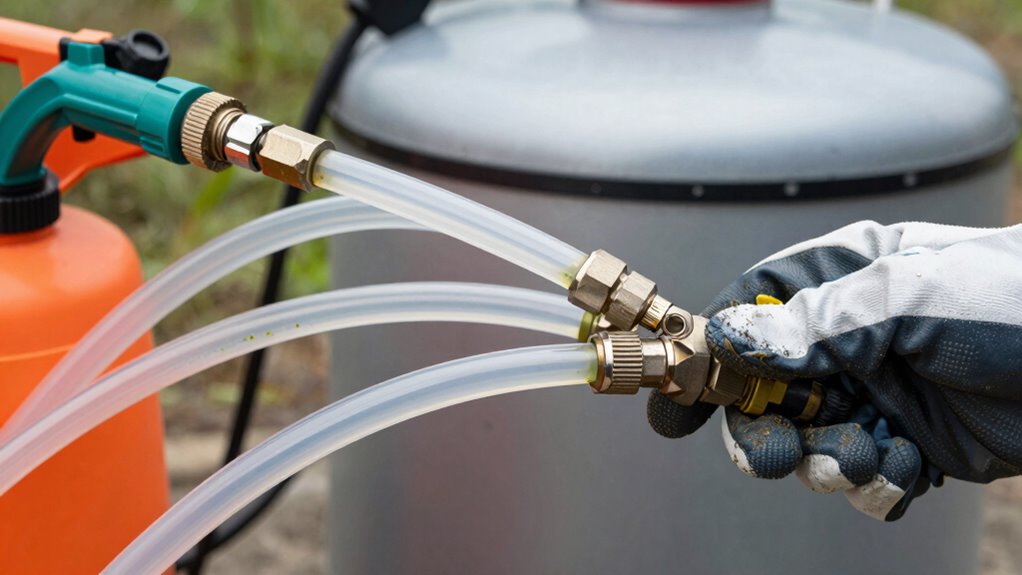
Flush With Cleaning Solution
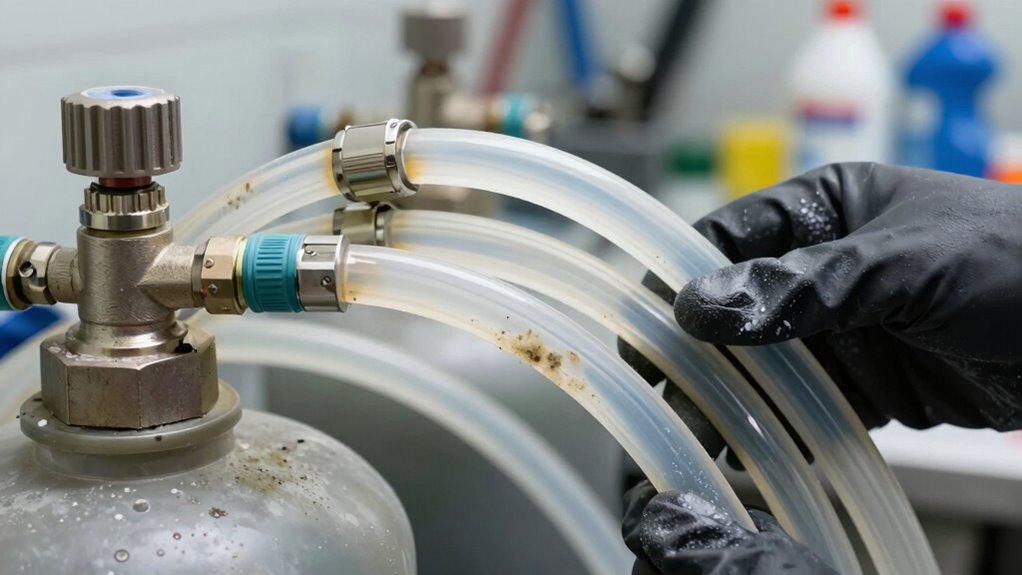
With your hoses and equipment prepared and checked for damage and compatibility, it’s time to begin the cleaning process. Start by flushing the hoses with a cleaning solution to remove chemical residues that can clog or damage hose materials. This step helps maintain hose durability and prevents buildup that could affect future spraying.
- Use a compatible cleaning agent for your sprayer type
- Run the solution through the entire hose length
- Let the solution sit for a few minutes to break down residues
- Keep an eye on pressure to ensure thorough cleaning
- Follow with a water flush to clear out the cleaning solution
This process guarantees your hoses stay in good condition, reducing the risk of chemical damage and extending their lifespan.
Rinse and Inspect Thoroughly
After running the cleaning solution through your hoses, it is vital to thoroughly rinse them with clean water. Use a strong stream to flush out any remaining residue, paying attention to hose material—rubber, polypropylene, or other types—as they may react differently. For hoses with different connector types, make sure you disconnect and inspect each connection point carefully. Look for blockages, buildup, or damage that could harbor contaminants. Check for leaks or cracks and verify that no debris remains inside. Proper rinsing and inspection prevent cross-contamination and ensure your sprayer functions efficiently. Take your time to confirm all hoses are free of residue and secure connections are tight before moving on to the next cleaning step. Additionally, understanding the role of proper maintenance in preventing equipment breakdowns can significantly extend the lifespan of your sprayer.
Choosing the Best Cleaning Solutions for Different Residues
Choosing the right cleaning solution is essential for effectively removing different types of residues. You need to contemplate chemical compatibility to avoid damaging hoses and equipment. Different residues, like oils, pesticides, or fertilizers, require specific solutions for proper residue removal. Using incompatible cleaners can leave harmful residues or cause corrosion. To select the best solution, keep these points in mind:
Choosing the correct cleaning solution prevents damage and ensures effective residue removal.
- Match the cleaning agent to the residue type
- Use biodegradable options when possible
- Consider pH levels for sensitive materials
- Avoid harsh chemicals that could damage hoses
- Test solutions on small sections first
How to Prevent Hose Contamination and Clogs
Preventing hose contamination and clogs starts with proper cleaning and maintenance practices. First, pay attention to your hose material, ensuring it’s compatible with the chemicals you use. Using incompatible materials can lead to degradation or chemical reactions that cause clogs or contamination. Always flush hoses thoroughly after each use with an appropriate cleaning solution, especially if switching between different chemical types. Regular inspections for cracks, blockages, or buildup help catch issues early. Store hoses properly, avoiding exposure to extreme temperatures or direct sunlight, which can weaken materials. Additionally, follow manufacturer guidelines for cleaning agents to preserve chemical compatibility, preventing damage that could lead to clogs. Consistent maintenance and awareness of hose material and chemical compatibility are key to keeping your hoses clean and clog-free.
Common Mistakes to Avoid When Cleaning Sprayer Hoses
One common mistake is skipping thorough rinsing, which can leave residues that cause clogs later on. Using harsh cleaning agents might damage your hoses or leave harmful residues behind. To keep your sprayer in top shape, make sure to rinse completely and choose gentle cleaning solutions.
Neglecting Complete Rinse Steps
Neglecting to thoroughly rinse sprayer hoses after use is a common mistake that can lead to clogs, residue buildup, and equipment damage. Chemical residues can stick to the hose material, causing blockages and reducing performance. Skipping complete rinse steps leaves leftover chemicals that may react or degrade hoses over time. To prevent issues, ensure you:
- Use clean water to flush hoses immediately after spraying
- Rinse all hose sections, including fittings and connectors
- Avoid rushing the process; thorough rinsing is essential
- Repeat rinsing if switching between different chemicals
- Check for any remaining residues before storage
- Remember that proper maintenance extends the lifespan of your equipment and maintains optimal function. Incorporating routine cleaning practices can help identify potential issues early and keep hoses in top condition.
Using Harsh Cleaning Agents
Using harsh cleaning agents might seem like an effective way to quickly remove stubborn residues, but they can actually do more harm than good. These chemicals can cause unwanted chemical reactions within the hoses, damaging the material or weakening its structure. They often have extreme pH levels—either too acidic or too alkaline—that can degrade rubber, plastic, or other hose components over time. This damage can lead to leaks, blockages, or reduced durability. Additionally, residual harsh chemicals left in the hoses can contaminate future applications or react with pesticides and fertilizers, creating safety hazards. Always opt for milder, compatible cleaning agents formulated for sprayer hoses. Proper cleaning preserves hose integrity and prevents costly repairs caused by chemical-induced deterioration. Maintaining hose integrity is essential for safe and effective sprayer operation. Moreover, using appropriate cleaning agents can extend the lifespan of your hoses and ensure consistent performance. To avoid unintended damage, it’s important to understand the fundamentals of chemical compatibility and select cleaning products accordingly.
When and How to Replace Worn or Damaged Hoses

Hoses in your sprayer can wear out or become damaged over time, which can lead to leaks, reduced spray efficiency, or even safety hazards. Knowing when to replace hoses depends on their hose material and typical replacement intervals. Regular inspection is key; look for cracks, bulges, or stiffness. If you notice any of these signs, it’s time for a change.
- Cracks or visible wear in the hose material
- Leaks or drips during operation
- Bulging or swelling of the hose
- Persistent clogs or reduced flow
- Hoses that are more than 3-5 years old, depending on usage
Replacing worn hoses promptly ensures safety and maintains ideal spray performance.
Incorporating Hose Cleaning Into Your Regular Sprayer Maintenance

Regularly cleaning your sprayer hoses is essential for maintaining peak performance and extending their lifespan. Incorporate hose cleaning into your routine after each use, especially if you store hoses improperly. Proper hose storage—keeping hoses in a cool, dry place away from direct sunlight—prevents material degradation and buildup of residues. Pay attention to hose material, as different types require specific cleaning methods; for example, rubber hoses might need a different approach than synthetic ones. Use appropriate cleaning solutions and rinse thoroughly to remove any residual chemicals or debris. By making hose cleaning a regular part of your maintenance, you reduce clogs, prevent leaks, and ensure consistent spray performance, saving money and effort in the long run.
Frequently Asked Questions
How Often Should I Clean My Sprayer Hoses?
You should clean your sprayer hoses after each use, especially if you switch between different chemicals or crops. The cleaning frequency depends on your hose material; rubber hoses may need more frequent cleaning than PVC ones. Regularly flushing and inspecting hoses prevents clogs and chemical buildup, ensuring peak performance. Always follow manufacturer recommendations, but a good rule is to clean hoses thoroughly at least once a week or after each spraying session.
Can I Use Household Cleaning Products on Sprayer Hoses?
Using household cleaning products on your sprayer hoses is like trying to fit a square peg into a round hole—they might damage the hose material. Stick to manufacturer-recommended cleaners and cleaning frequency to keep hoses in top shape. Check the hose material first; some plastics can’t handle harsh chemicals. Properly cleaning and maintaining hoses guarantees your sprayer functions smoothly, preventing clogs and prolonging its lifespan.
How Do I Identify Hose Leaks or Cracks?
You can identify hose leaks or cracks through leak detection by inspecting the hose material closely for visible signs of damage, such as cracks, bulges, or worn spots. Pay attention to areas where the hose bends or connects, as these are common leak points. Also, listen for hissing sounds or observe if the spray pattern is inconsistent, which indicates a leak. Regular inspection helps catch issues early and guarantees proper functioning.
Are There Eco-Friendly Cleaning Options for Hoses?
Yes, there are eco-friendly cleaning options for hoses. You can use biodegradable solutions and natural cleaning agents like vinegar, baking soda, or plant-based cleaners. These options effectively remove residues without harming the environment. Simply mix them with water and flush through the hoses, ensuring they’re thoroughly cleaned. Using natural and biodegradable solutions helps you maintain your equipment while protecting the planet.
What Are the Signs of Hose Contamination in the Entire Sprayer System?
You notice a cloudy residue or unexpected color change in your spray pattern—these are signs of hose contamination. Discolored or cloudy liquid hints at contamination sources within the hose material, spreading through your entire sprayer system. You might also see reduced spray pressure or inconsistent flow, signaling buildup or blockages. Always inspect hoses closely for cracks or leaks, as these can harbor contaminants, affecting your entire spraying operation.
Conclusion
Remember, cleaning your tank is just the first step—your hoses might be hiding unseen dangers that could sabotage your spraying. Neglecting hose maintenance can lead to clogs, uneven coverage, or worse, costly damage. So, are you truly done, or is there one last step that could make all the difference? Stay vigilant, follow the proper decon procedures, and don’t ignore the hidden risks—because the real trouble could be just a hose away.