
After harvest, you should remove all crop residues, debris, and spoiled produce from your fields and storage areas to eliminate overwintering pest habitats. Clean and disinfect equipment and storage containers thoroughly, sealing any cracks or gaps around doors, windows, and utility lines to prevent pest entry. Regularly inspect for new openings, and use barriers or treatments as needed. Maintaining these sanitation practices helps confirm pests don’t survive the winter and future problems are minimized—learn more to strengthen your strategy.
Key Takeaways
- Remove crop residues, debris, and spoiled produce from fields and storage areas to eliminate pest hiding spots.
- Thoroughly clean and disinfect surfaces, equipment, and storage facilities regularly to prevent pest harborages.
- Seal cracks, gaps, and unused openings around doors, windows, and utility lines to block pest entry points.
- Implement physical barriers like weatherstripping and repair structural damages to enhance pest prevention.
- Conduct routine inspections and monitor for pests, applying targeted sanitation, biological, or chemical controls as needed.

Miracle-Gro Large Dual Chamber Compost Tumbler, 55.4 Gallons – Easy-Turn, Fast-Working System – All-Season, Heavy-Duty, High Volume Composter with 2 Sliding Doors (2 x 27.7 gallons)
YOUR RECIPE FOR PLENTIFUL PLANTS – Do you dream of a huge harvest or a front yard full...
As an affiliate, we earn on qualifying purchases.
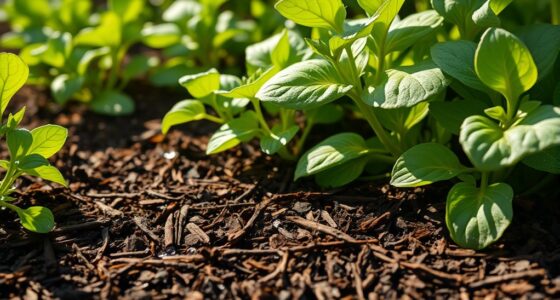
Clear All Crop Residues and Debris
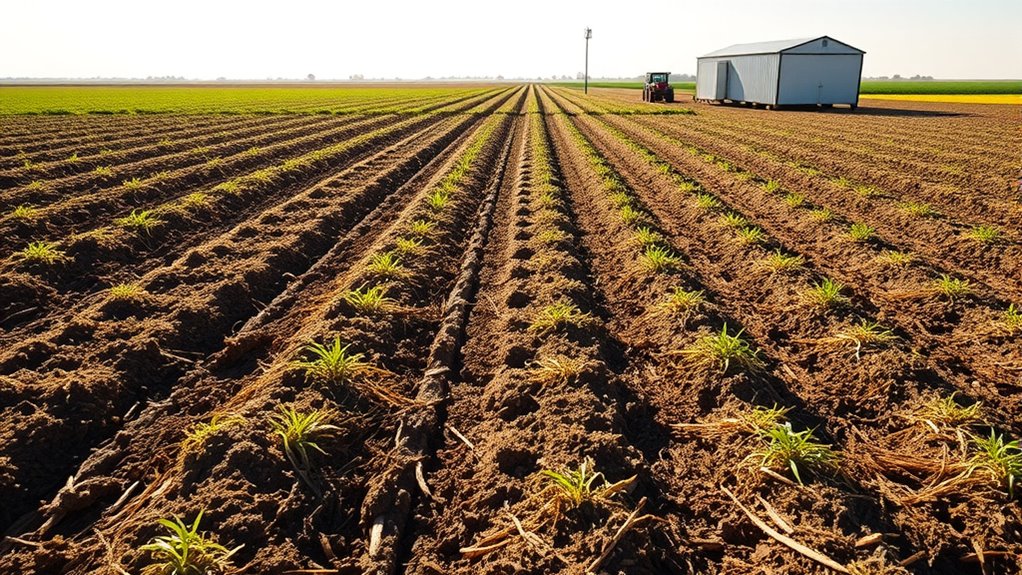
After harvesting, it’s essential to clear all crop residues and debris from the field. Proper crop residue management helps prevent overwintering pests and diseases that can survive on leftover plant material. Remove debris thoroughly, including stalks, leaves, and other plant parts, to eliminate hiding spots for pests. Raking or burning residues might be necessary in some cases, but composting is often the best option for nutrient recycling. Prompt debris removal reduces the risk of pest infestations and keeps your field clean for the next planting season. Make sure to inspect the entire area, paying close attention to corners and edges where debris tends to accumulate. Effective residue management is a key step in maintaining a healthy, pest-free field after harvest. Additionally, understanding pest overwintering habits can further enhance your sanitation efforts.

SPIDER FARMER Dehumidifier,32 Pints Plant Dehumidifier with Drain Hose,Temperature & Humidity Sensor Probe,24H Timer Function, Compressor Entfeuchter for Grow Tent,Home and Basement
UNIQUE DESIGN FOR GROW TENT: This product equips with an air duct so that the dehumidifier can be...
As an affiliate, we earn on qualifying purchases.
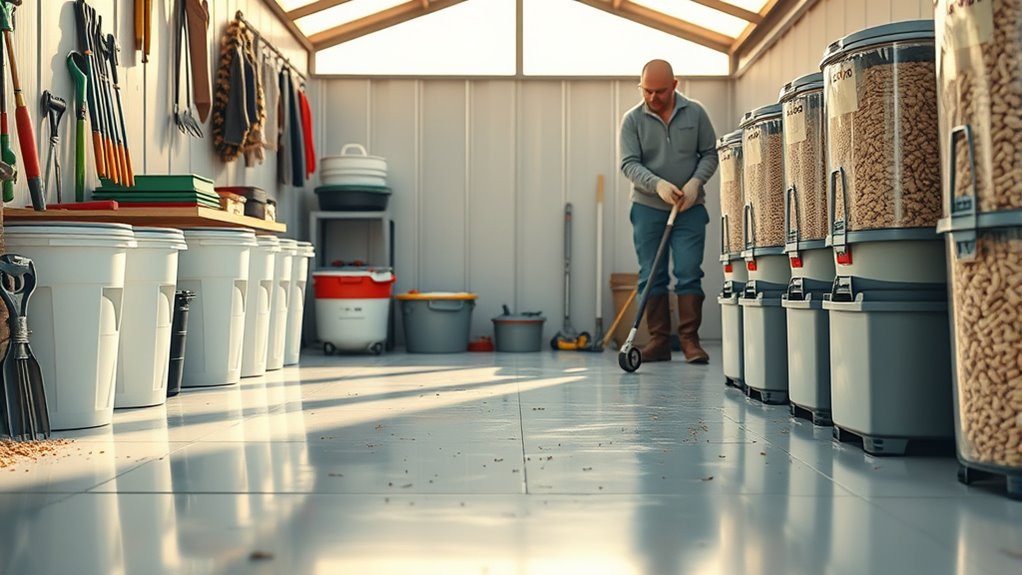
Thoroughly Clean Storage Containers and Equipment
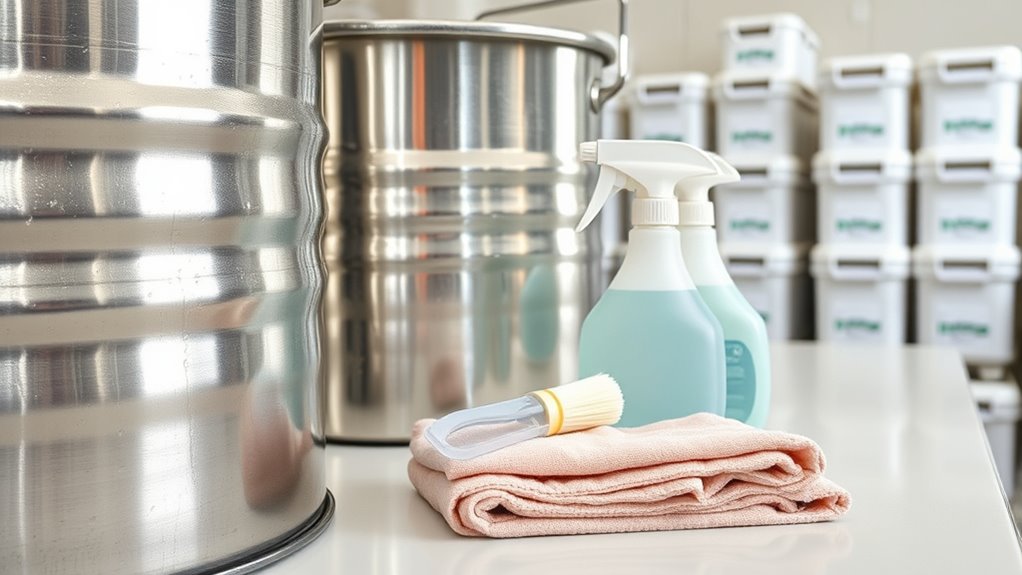
You need to remove any leftover debris from your storage containers and equipment to prevent contamination. Next, choose the right cleaning agents to effectively sanitize all surfaces. Proper cleaning guarantees your equipment stays safe and ready for future harvests. Incorporating proper sanitation procedures into your routine helps eliminate pests and maintain a healthy storage environment.
Remove Residual Debris
Thoroughly cleaning storage containers and equipment is essential to remove residual debris that can harbor pests, mold, and bacteria. Leftover debris provides hiding spots and breeding grounds, increasing pest risks and complicating soil sterilization efforts. To create pest-resistant storage, ensure all surfaces are scrubbed and debris is eliminated. Pay special attention to cracks and crevices where debris can accumulate unnoticed. Removing residual debris also helps prevent mold growth and contamination of future harvests. Regular cleaning not only maintains hygiene but also reduces the chances of overwintering pests taking shelter in your storage areas. Implementing sanitation practices further enhances pest control by maintaining a clean environment. By diligently clearing debris, you make your storage environment less inviting to pests and easier to keep pest resistant year-round.
Use Appropriate Cleaning Agents
Using the right cleaning agents is essential for effectively sanitizing storage containers and equipment. Choose disinfectants with proven effectiveness against common pests and pathogens to guarantee thorough sanitation. Always follow the manufacturer’s instructions for application and contact time to maximize disinfectant effectiveness. Incorporate regular cleaning schedules to prevent buildup of residues and pests, especially during off-season periods. Proper cleaning agents help eliminate hidden residues that harbor overwintering pests, reducing the risk of infestations returning. Regularly assessing and rotating cleaning products can enhance sanitation effectiveness and prevent resistance development. Avoid using harsh or incompatible chemicals that could damage equipment or leave harmful residues. By selecting appropriate cleaning agents and maintaining consistent schedules, you ensure your storage areas stay pest-free and hygienic, supporting a successful post-harvest sanitation routine.

VIVOSUN AeroDrain D12 Smart Environmental Dehumidifier, up to 12L/day, 2L Water Tank, with Temperature & Humidity Sensor Probe, Smart Remote Control, Designed for Grow Tents
Superior Humidity Control: Features a high-efficiency compressor that removes up to 12L of moisture daily; Equipped with high-precision...
As an affiliate, we earn on qualifying purchases.
Inspect and Seal Entry Points and Cracks

You need to carefully check all entry points for gaps or cracks. Seal small gaps thoroughly to prevent pests and contamination. Make sure doors, windows, and unused openings are secure and properly blocked. Regular inspection and sealing of these areas help maintain a sanitary environment and reduce the risk of overwintering pests.
Seal Small Gaps Effectively
Inspecting your storage area for small gaps, cracks, and entry points is essential to maintaining sanitation after harvest. Sealing these openings prevents pests from finding shelter and hinders their entry. Use appropriate sealants or weather stripping to close gaps around pipes, vents, and walls. Effective sealing also supports ventilation improvement, ensuring good airflow and reducing excess moisture that attracts pests. Moisture control is vital, as damp environments encourage pest survival and mold growth. Regularly check for new cracks or gaps that may develop over time, especially after weather changes or structural shifts. By sealing small gaps thoroughly, you enhance your sanitation efforts, create a less hospitable environment for overwintering pests, and promote better storage conditions overall. Additionally, sealing open spaces helps prevent the entry of pests that may carry diseases, safeguarding your stored crops and ensuring a healthier harvest environment.
Inspect Doors and Windows
Are doors and windows properly sealed to prevent pest entry? Check your door hinges and window frames for gaps or cracks. Loose hinges can create openings pests exploit, so tighten or replace them if needed. Inspect window frames for damaged or missing weatherstripping, as even small cracks can serve as entry points. Seal any gaps with appropriate caulk or weatherproof sealant to block pests from sneaking inside. Pay close attention to corners and seams around both doors and windows. Ensure that all seals are intact and functioning properly. Incorporate proper sealing techniques to enhance the effectiveness of your pest prevention efforts. Taking these steps reduces overwintering pests by eliminating their access points. Regular inspection and sealing of entry points are essential parts of your post-harvest sanitation routine. Staying vigilant now helps prevent pest problems during colder months.
Block Unused Openings
Unsealed openings and cracks around doors and windows provide easy entry points for pests, making it essential to identify and seal them promptly. By blocking unused openings, you reduce pest habitats and improve ventilation. Proper sealing prevents pests from overwintering inside your space and keeps unwanted critters out. Focus on cracks around utility lines, vents, and gaps in window frames. Use weatherstripping, caulk, or sealant for effective closure. Consider this quick guide:
| Entry Point | Action Needed | Benefits |
|---|---|---|
| Window gaps | Seal with caulk | Better ventilation, pest reduction |
| Door frames | Install weatherstripping | Less pest entry, improved airflow |
| Utility openings | Block and seal | Reduced pest habitat, safety |
Sealing these openings is a key step in pest management after harvest. Proper sealing also minimizes entry points for pests, enhancing overall pest control efforts.

EJWOX Stainless Steel Compost Aerator Tool - Manual Turner & Mixer for Compost Tumblers and Bins | Faster Decomposition, Rust-Proof
Speed Your Compost Pile - Using this compost starter can add air to your bin full of grass...
As an affiliate, we earn on qualifying purchases.
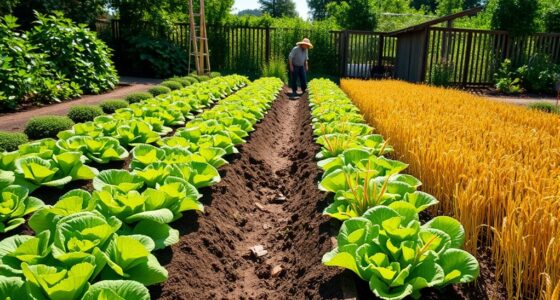
Remove and Dispose of Old or Spoiled Produce
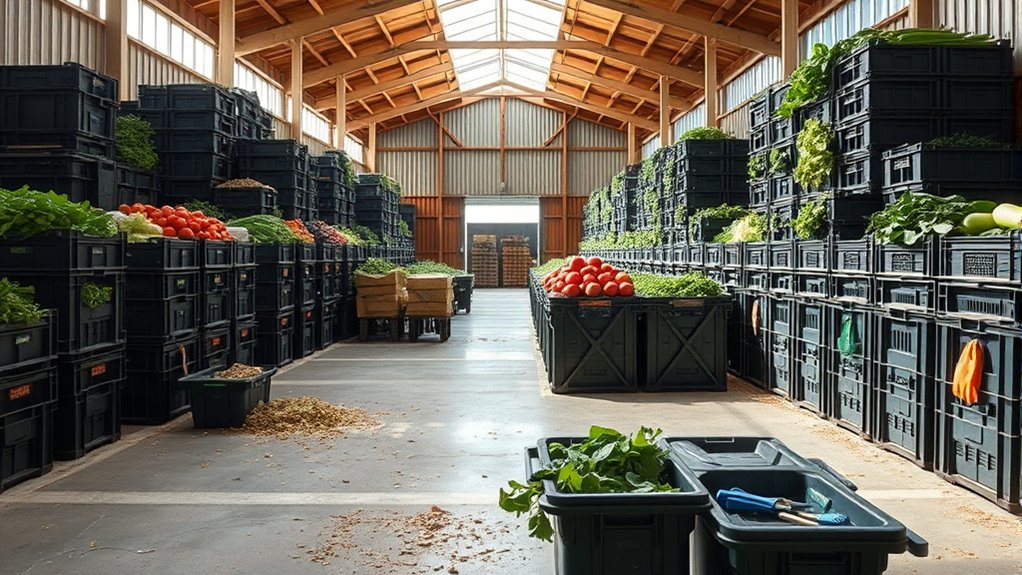
To maintain a clean and safe harvest environment, you need to promptly remove and dispose of any old or spoiled produce. Spoiled items attract pests and can harbor disease, so timely removal is essential. When disposing of produce, consider composting practices that prevent spoilage from spreading and reduce pest attraction. Proper composting helps break down organic material safely and minimizes odors that draw pests. Regularly inspect stored produce, and discard any that show signs of decay or mold. Ensure spoiled produce is disposed of away from storage areas to prevent contamination and pest infestations. Keeping your harvest area free of old or spoiled produce not only improves cleanliness but also supports spoilage prevention, reducing the likelihood of overwintering pests taking hold in your facility. Additionally, proper sanitation practices are vital for maintaining overall farm hygiene and preventing pest infestations from establishing in the first place.
Apply Proper Sanitation and Pest-Repellent Treatments
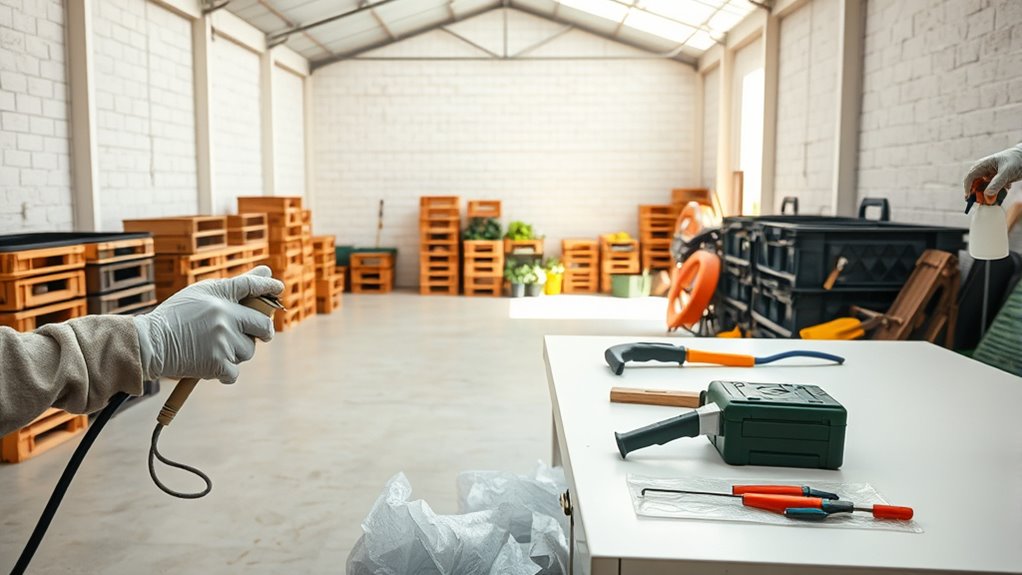
Maintaining a clean harvest environment involves applying proper sanitation and pest-repellent treatments to prevent pests from establishing and spreading. Start by thoroughly cleaning all surfaces, equipment, and storage areas to remove residual debris that pests might hide in. Use biological controls, such as beneficial insects or natural predators, to naturally reduce pest populations without chemicals. When necessary, apply targeted chemical treatments to vulnerable spots, ensuring you’re following safety guidelines and product instructions. Combining sanitation with pest-repellent treatments creates a barrier that discourages pests from returning. Regularly inspect treated areas to confirm effectiveness. Proper sanitation and the strategic use of biological controls and chemical treatments help protect your harvest from overwintering pests, reducing the risk of infestations in the upcoming season. Additionally, employing portable pest-repellent treatments can enhance your pest management efforts in various locations.
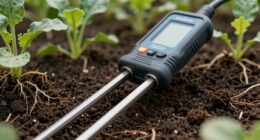
Implement Ongoing Monitoring and Maintenance
Consistent monitoring and maintenance are vital to ensuring your sanitation efforts continue to be effective over time. Establish clear monitoring protocols to regularly inspect your facility for signs of pests or sanitation issues. These protocols help you quickly identify problems before they escalate. Develop a maintenance schedule that includes routine cleaning, repairs, and sanitation treatments to keep pest entry points sealed and harborage areas eliminated. By adhering to a structured schedule, you prevent pests from overwintering and reduce the risk of infestations returning. Regular checks also allow you to adjust your strategies as needed, ensuring ongoing effectiveness. Staying proactive with ongoing monitoring and maintenance keeps your facility sanitary, pest-free, and ready for successful harvests.
Frequently Asked Questions
How Often Should Sanitation Checks Be Performed After Harvest?
You should perform sanitation checks regularly after harvest to maintain storage cleanliness and prevent pest issues. Ideally, you’ll want to do pest monitoring frequently, such as weekly, especially during the fall and winter months when overwintering pests are more active. Consistent checks help you catch any pest activity early, allowing you to address problems promptly and keep your storage environment pest-free. This proactive approach guarantees your harvest remains safe and clean.
What Specific Pests Are Most Likely to Overwinter in Storage Areas?
Think of your storage area as a fortress, and pests as unwelcome invaders. Stored grain pests like weevils, grain borers, and Indian meal moths often overwinter in these spaces, hiding in cracks and crevices. Rodent entry is a common pathway, bringing mice and rats that can damage grain and spread disease. Regular inspections help catch these pests early, preventing a full-blown invasion during winter.
Are There Eco-Friendly Sanitation Products Recommended for Pest Control?
You’re wondering if eco-friendly sanitation products are recommended for pest control. Yes, biodegradable cleaners and plant-based repellents are effective options. These products help you maintain a clean storage area while reducing chemical impacts on the environment. By choosing biodegradable cleaners, you guarantee safe disposal, and plant-based repellents can deter pests naturally. Incorporating these eco-friendly solutions keeps your storage space pest-free and aligns with sustainable practices.
How Can Weather Conditions Influence Pest Overwintering Risks?
Think of weather conditions as a gardener tending a delicate balance. Weather patterns and temperature fluctuations act like gentle breezes or harsh storms, shaping pest survival. Mild winters with stable temperatures allow pests to overwinter easily, while cold snaps can wipe them out. You should monitor these variations, as they directly influence overwintering risks. Adjust your pest management strategies accordingly, staying vigilant against pests that thrive under specific weather conditions.
What Are Signs of Pest Infestation That Indicate Sanitation Needs Improvement?
You should look for signs of pest infestation, such as pest hiding spots, droppings, or damage to crops and storage areas. Infestation indicators include gnaw marks, webbing, or unusual odors. If you notice these signs, it’s a clear cue to improve sanitation. Regularly cleaning and removing debris helps eliminate pest hiding places, reducing overwintering risks and keeping pests from establishing a stronghold on your farm or storage facilities.
Conclusion
By keeping your fields and storage areas spotless, you can reduce overwintering pests considerably. Did you know that untreated crop residues can harbor pests for up to six months? Regular sanitation practices, like cleaning containers and sealing entry points, create a barrier against these pests, saving you time and money come spring. Stay vigilant with ongoing monitoring, and you’ll protect your harvest and ensure a healthier, pest-free season ahead.