TL;DR
A gardening guide sets out seven steps for giving hellebore seeds a better start, including sowing fresh seed near the soil surface, preparing deep, well-drained soil and thinning seedlings. Hellebore hybrids do not reliably grow true to their parent, so seedlings can vary in color and flower form. The guidance is practical advice, not a report of a new study or official gardening rule.
A gardening guide has outlined seven steps for starting hellebore seeds, recommending that growers sow fresh seed in prepared, well-drained soil, mark the planting site and keep the ground consistently moist without making it soggy. The advice matters to gardeners seeking an economical way to add late-winter and early-spring flowers, but seed-grown hybrid plants may not resemble the parent plant.

Get garden gear delivered free with Prime
- Fast, free delivery on millions of items
- Prime Video, Amazon Music and more included
- Member-only deals all year
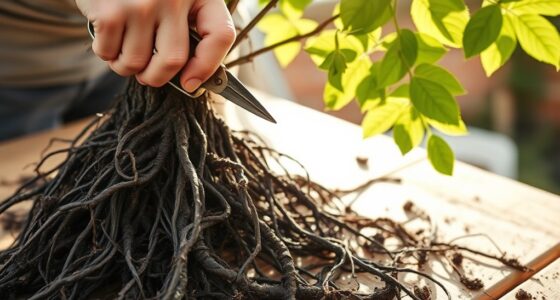
The guide describes hellebores (Helleborus) as hardy perennials that flower from late winter into early spring. Many garden varieties are hybrids grouped under Helleborus × hybridus. Their seeds can produce plants with differing colors and flower forms, rather than exact copies of the plant that produced them. Gardeners seeking a replica are advised to divide the plant; the source also mentions laboratory propagation from tissue as another route.
The seven recommendations begin with marking the planting site, because seed is often sown in late summer and can be hard to find after foliage dies back. The guide suggests a durable marker, such as a labeled plastic spoon or wooden stick. It also advises preparing at least 18 inches of soil depth, loosening the bed with a garden fork and adding compost or sand as needed to create a crumbly, loamy mix that drains well.
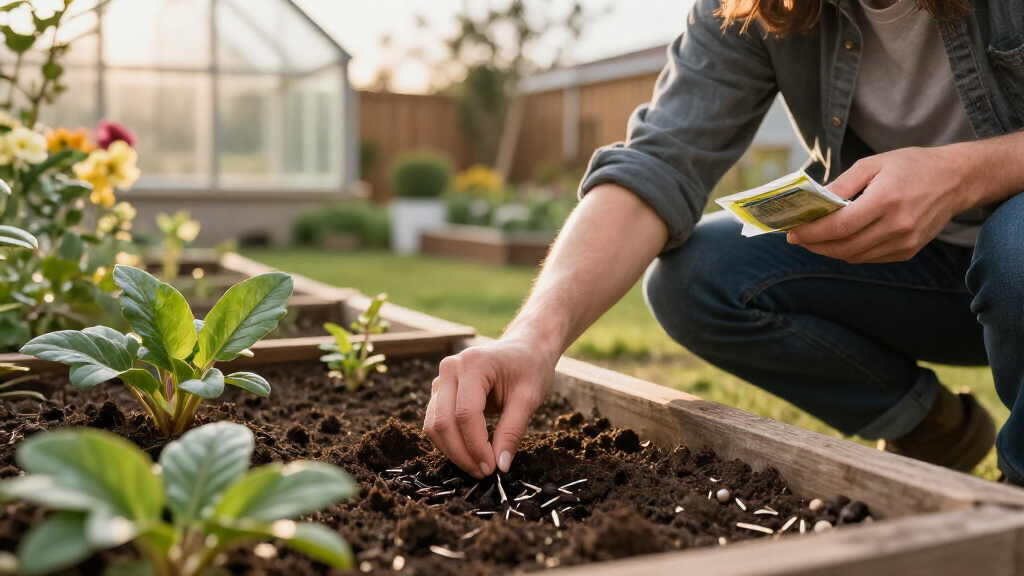
For best results, sow freshly harvested seed promptly, the guide says, because hellebore seed may lose viability in storage. Seed should be placed on the soil surface or covered only very lightly; burying it too deeply can impede germination and contribute to rot. The suggested methods include pressing seed gently into moist soil or covering it with a thin layer of soil, sand or fine gravel. The guide says sand or fine gravel may also discourage fungal growth and foraging wildlife.
Give hellebore seeds a good start
Seven practical steps can help gardeners sow hellebores and care for seedlings. Hybrid seedlings may surprise you with different flower colors and forms.
Prepare the bed
Start with a labeled planting site and loose, well-drained soil.
Use a durable label so you can find the sowing site after foliage dies back.
Prepare at least 18 inches of soil depth; add compost or sand as needed for a crumbly, draining mix.
Sow for a strong start
Fresh seed and shallow sowing support the guide’s recommended approach.
Sow fresh promptly
Freshly harvested seed may lose viability in storage, so sow it as soon as possible.
Keep it near the surface
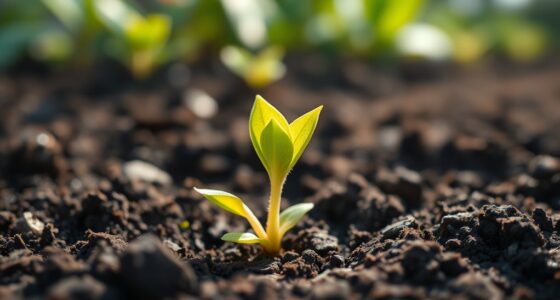
Press seed gently into moist soil or cover it only lightly to avoid impeding germination.
Keep soil evenly moist
Do not let seeds dry out, and avoid waterlogged conditions that can contribute to rot.
Plan around timing
The guide recommends sowing in the warm season, with germination potentially following later.
Thin and protect seedlings
Give young plants room and airflow as they develop.
- Thin seedlings after their first three true leaves.
- Leave at least 18 inches between plants.
- Add a one-inch layer of fine mulch.
- Keep mulch from touching seedlings and maintain moisture without waterlogging.
Why Seedlings Can Surprise Gardeners
Growing from seed can be a low-cost way to expand a hellebore planting, but it does not guarantee a particular flower color or shape. According to the guide, hybrid offspring may vary in color, from cream and yellow to pink, purple or dark burgundy, and may develop single or double flowers, ruffled petals or contrasting markings. That variation can be appealing to gardeners who welcome surprises, but it is a limitation for anyone trying to reproduce a favorite plant exactly.
The advice also addresses practical risks at the seedling stage. Hellebores need steady moisture for germination and early growth, but overly wet conditions can contribute to rot, slug damage or damping off, a fungal disease that can kill seedlings. Good drainage and sufficient spacing are presented as ways to reduce those problems, rather than as guarantees against them.
Products Worth Considering

Husqvarna ST 124 212cc Two-Stage Snow Blower, 24-Inch

Husqvarna Automower 550 Robotic Lawn Mower

Greenworks 60V 21-Inch Self-Propelled Lawn Mower with Two 4.0Ah Batteries
As an affiliate, we earn on qualifying purchases.
When and How Hellebores Set Seed
The guide says most hellebore seed is ready for harvest in mid- to late summer. Seed that falls naturally can produce seedlings around the parent plant, while collecting it gives gardeners more control over where new plants grow. For seeds acquired in the recommended window, the guide advises direct sowing in prepared garden beds; a period of warm ground followed by cold weather can support germination, which may occur in late winter.
Its timing advice is to plant seeds or seedlings from early spring through late summer. If seed arrives outside that period, the guide suggests starting it indoors or in a greenhouse for transplanting outdoors in early spring. For seed more than a year old, it says moist cold stratification—keeping seed cold and moist to imitate winter conditions—may help, though this is not presented as a certainty.
“The seeds from hybrids do not produce “true.””
— Gardening guide
Germination Timing and Results Vary
The source gives general planting guidance but does not provide trial data, germination percentages or a specific timeframe for how quickly every batch of seed will sprout. It says older seed may need moist cold stratification and that germination can take several years for some types, but it does not identify which varieties or conditions those cases involve. Results will vary by seed age, type and growing conditions.
The guide also does not specify a single watering schedule or name a preferred mulch material. It recommends keeping soil consistently moist, preventing waterlogging, and applying a one-inch layer of finer mulch only after seedlings have true leaves and have been thinned. These are general instructions, not a guarantee that seedlings will avoid disease or establish successfully.
Steps for the Next Planting Season
Gardeners following the guide can collect ripe seed in summer, label a prepared bed and sow promptly, or buy recently harvested seed from a reputable seller. As seedlings develop their first three true leaves, the guide recommends thinning them to at least 18 inches apart to allow airflow and room to mature. A one-inch layer of fine mulch can then be placed around the seedlings, without touching them.
The next milestone is germination and seedling growth, which may extend into late winter after sowing in warm-season conditions. The source does not give a fixed date for flowering or establishment, so growers should monitor moisture and plant development rather than expect every seed to follow the same schedule.
Key Questions
When should hellebore seeds be planted?
The guide recommends sowing from early spring through late summer. Seed harvested in mid- to late summer can be sown promptly in a prepared garden bed.
Will a hellebore grown from hybrid seed look like its parent?
Not necessarily. The guide says hybrid seeds do not grow true to the parent, so flower color and form can vary. Dividing a plant is the suggested way to reproduce a favorite specimen.
How deep should hellebore seeds be sown?
They should be left on the soil surface and gently pressed in, or covered with only a very thin layer of soil, sand or fine gravel. The guide warns that deep sowing may hinder germination.
How far apart should hellebore seedlings be?
After seedlings develop their first three true leaves, the guide recommends thinning them to at least 18 inches apart to improve airflow and provide room to grow.
How should the soil be kept while seeds germinate?
Keep the soil consistently moist, but not waterlogged, and do not let seeds or seedlings dry out completely. Well-drained, loamy soil can help balance moisture retention and drainage.
Source: gardenerspath.com