
To successfully divide perennials in fall, start by watering deeply a couple of days beforehand to loosen the soil. Choose a well-drained, fertile spot, and prepare the soil with organic matter like compost. Carefully dig around the plant, lift the clump, and split it into sections with clean cuts. Replant and water each division thoroughly, then mulch to retain moisture. Following these steps guarantees healthy new growth—keep going for detailed tips to maximize your success.
Key Takeaways
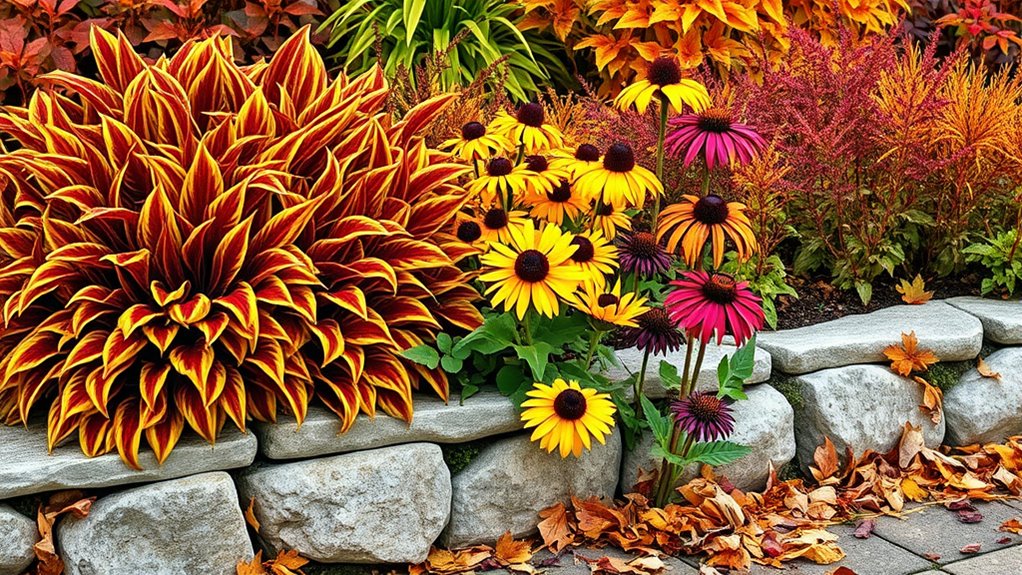
- Fall is ideal for dividing perennials due to cooler temperatures that promote recovery and growth.
- Water plants deeply 1-2 days before digging to loosen soil and reduce stress during division.
- Prepare soil with organic amendments like compost for improved drainage and fertility prior to replanting divisions.
- Use sharp tools to carefully divide clumps, ensuring roots and shoots remain intact for quick establishment.
- Mulch and maintain consistent moisture after planting to support healthy growth and successful root development.
Fall is the ideal time to divide perennials, as cooler temperatures help plants recover quickly and establish new growth. When planning your division, start by adjusting your watering schedule to guarantee the soil remains moist but not waterlogged. Consistent moisture is essential during this period because it helps reduce stress on the plants and encourages healthy root development. Water deeply a day or two before you plan to dig up the perennials, so the soil is easier to work with and the plants are better prepared for the disturbance. After dividing, continue to water regularly, especially if the weather stays warm or dry, to support recovery and establishment.
Fall is perfect for dividing perennials; keep soil moist and water deeply before digging.
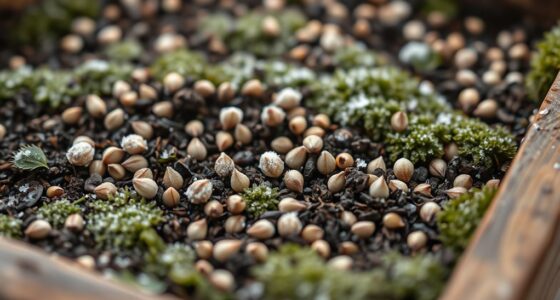
Before you begin dividing, proper soil preparation is crucial. Select a well-drained location with fertile soil that drains well, preventing root rot and other issues. If your soil is heavy clay or sandy, amend it with organic matter like compost or aged manure to improve moisture retention and fertility. Mix the amendments thoroughly into the existing soil to create an ideal environment for the new divisions. This preparation will give your perennials a strong foundation to grow from, making the division process more successful. Keep in mind that healthy soil promotes vigorous root growth and helps the plants bounce back faster after division. Incorporating soil amendments can significantly boost plant health and resilience.
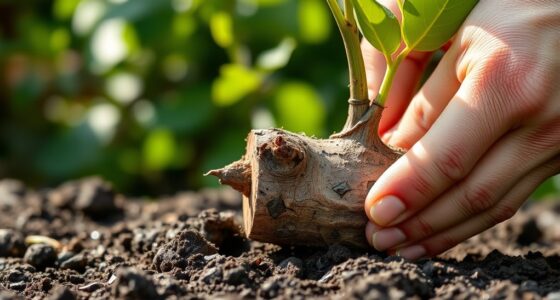
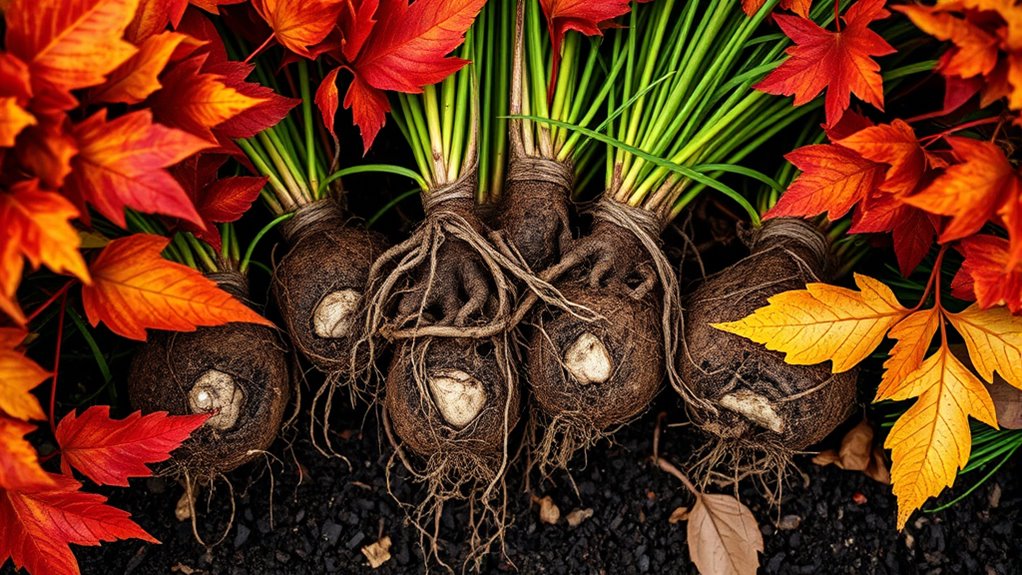
When you’re ready to divide, carefully dig around the perimeter of the mature plant, loosening the soil with a garden fork or spade. Lift the entire clump out of the ground, then gently shake off excess soil to examine the root system. Use a sharp knife, pruning shears, or garden saw to divide the clump into sections, making sure each division has a healthy portion of roots and shoots. Be cautious not to damage the roots during this process, as healthy roots are essential for quick recovery. After dividing, replant each section at the same depth as before, ensuring they are stable and well-supported.
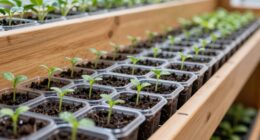
Post-division care is just as important as the process itself. Water the newly divided plants thoroughly and consistently, especially during the first few weeks, to help them establish. Mulching around the divisions can help conserve moisture, regulate soil temperature, and suppress weeds. Keep an eye on the moisture levels and adjust your watering schedule accordingly. With proper soil preparation, attentive watering, and careful division, you’ll give your perennials a fresh start and set yourself up for a lush garden in the seasons to come.

Keyfit Tools Spartan Garden Knife Perennial Splitter Divider Super Sharp Double Sided Serrated Stainless Steel 8” Blade 5” Ergonomic Rubber Handle Hori Hori Knife Gardening Tools
~8" SPARTAN High Quality 420 HRC 52 Stainless Steel Blade ~5” Ergonomic Rubber Handle Will Not Rot Like…
As an affiliate, we earn on qualifying purchases.
As an affiliate, we earn on qualifying purchases.
Frequently Asked Questions
Can I Divide Perennials in Early Spring Instead of Fall?
Yes, you can do spring division instead of fall, but timing considerations are important. In early spring, wait until the soil warms up and the plants show healthy new growth. Spring division allows plants to establish roots before summer, but it’s riskier if you divide too early or late. guarantee you water well and choose a time when the plant is actively growing for best results.
How Do I Prevent Disease When Dividing Perennials?
Think of dividing perennials like tending a garden: you want to protect the roots like a shield. To prevent disease, always use clean, sharp tools and disinfect them between cuts. Remove any diseased or damaged parts, and give your plants good airflow. Water at the base to avoid splashing spores, and space plants properly. These steps help maintain healthy roots and keep diseases at bay during division.
What Tools Are Best for Dividing Tough Perennials?
When dividing tough perennials, you should use sharp, sturdy tools like a clean, sharp saw or garden fork to make clean cuts, reducing plant stress. Before dividing, perform perennial pruning to promote healthy growth. Also, prepare the soil by amending it with compost to guarantee the divided plants establish quickly. These steps make the process easier and help your perennials thrive after division.
How Deep Should I Plant Divided Perennials?
You should plant divided perennials at the same depth they were growing before, so their crown is level with the soil surface. Dig a hole with well-prepared soil, ensuring the root depth is adequate for healthy growth. Think of it as hitting two birds with one stone—proper soil preparation and correct planting depth set the stage for vigorous roots and lush blooms. Always water thoroughly after planting to help roots settle in.
Is Fall the Only Suitable Season for Dividing Perennials?
Fall isn’t the only suitable season for dividing perennials, but it’s often preferred due to ideal seasonal timing and plant health benefits. You can also divide perennials in early spring before they start actively growing, giving them plenty of time to establish. Just make certain you’re working when the weather is mild, and avoid dividing during extreme heat or frost, which can stress the plants and hinder their recovery.

Root Slayer 23311 Perennial Garden Shovel with Serrated Blade for Digging and Root Cutting, Fiberglass Shaft, Heavy Duty Steel Spade, Red
Compact Perennial Shovel for Precise Digging: Designed for transplanting flowers, dividing perennials, and working in tight garden spaces….
As an affiliate, we earn on qualifying purchases.
As an affiliate, we earn on qualifying purchases.
Conclusion
Dividing your perennials in fall is a smart move that keeps your garden thriving, just like a well-tuned vintage car. By doing this now, you give your plants time to settle in before winter’s chill, ensuring they grow strong and healthy next season. So, grab your trusty trowel, channel your inner gardener-extraordinaire, and enjoy the satisfaction of a garden that’s as lively as a 1920s speakeasy. Happy planting!

Michigan Peat Compost and Manure Blend, Garden Magic Mix with Odor-Free Blend, 40 Lbs – Outdoor Lawn and Gardening Mixture with Nutrients and Minerals for Soil Potting and Planting
Organic Compost Blend: Enhance the nutrient content and soil quality of lawns and raised garden beds with this…
As an affiliate, we earn on qualifying purchases.
As an affiliate, we earn on qualifying purchases.

Brut Organic Aspen Mulch 10 QT – Natural Moisture Retainer & Root Protector – Odor-Free, Nutrient-Rich Bark Mulch for Landscaping, Garden Beds & Potted Plants
NATURAL GARDEN COVER: Creates a clean, polished garden surface while helping minimize weed growth naturally. This organic mulch…
As an affiliate, we earn on qualifying purchases.
As an affiliate, we earn on qualifying purchases.