
To soil solarize your beds, start by removing debris and weeds, then thoroughly water the soil to enhance heat absorption. Cover the beds with clear plastic, sealing the edges with soil or heavy objects to trap heat. During peak sunlight, soil temperatures can reach 120–140°F, effectively killing pests, weeds, and pathogens. Keep the plastic in place for 4–6 weeks, especially during hot months, to guarantee best results. If you keep going, you’ll discover more tips to maximize the process.
Key Takeaways
- Prepare beds by removing debris, weeds, and thoroughly watering soil before covering with clear plastic.
- Cover beds with plastic during peak sunlight months, sealing edges to trap heat and raise soil temperatures to 120–140°F.
- Maintain the plastic cover for at least 4–6 weeks to effectively kill pests, weeds, and soil-borne pathogens.
- Extend solarization duration in cooler or cloudier climates to ensure sufficient soil sterilization.
- Remove plastic carefully post-treatment to promote healthy soil, enhancing fertility and microbial activity for new plant growth.
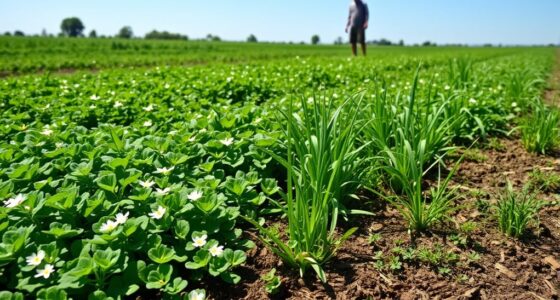
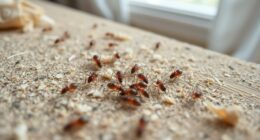
Soil solarization is an effective method for controlling soil pests, weeds, and diseases by harnessing the sun’s energy. When you use this technique on your garden beds, you’re fundamentally turning sunlight into a natural sterilizing agent that improves soil health. This process is especially beneficial if you’re dealing with persistent pests, harmful pathogens, or troublesome weeds that traditional methods haven’t fully eliminated. By covering your beds with clear plastic, you create a greenhouse effect, raising the soil temperature to levels that kill or deactivate many soil-borne pests and diseases. This is a form of soil sterilization that’s chemical-free, eco-friendly, and cost-effective, making it an appealing option for sustainable gardening.
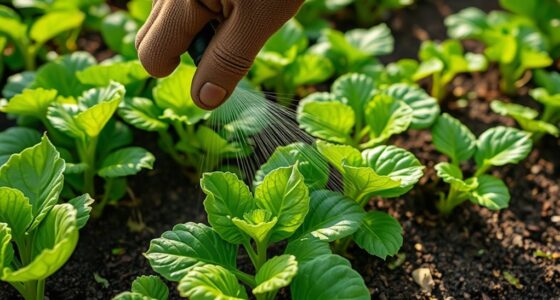
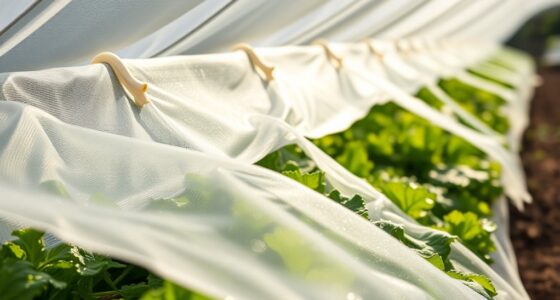
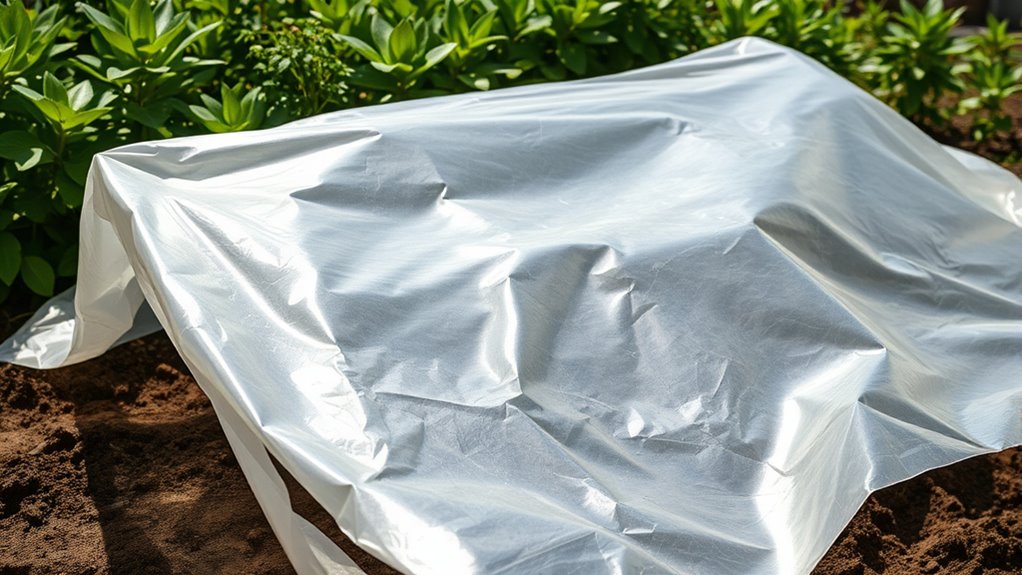
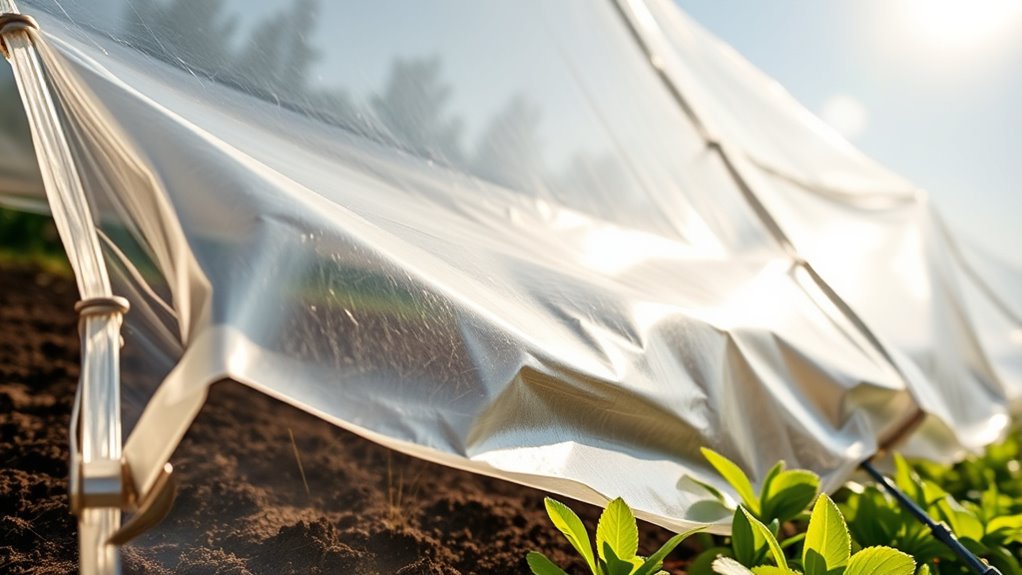
To start, you’ll need to prepare your beds by removing plant debris and weeds that could harbor pests or pathogens. Water the soil thoroughly beforehand, since moist soil heats more efficiently and ensures better pest control. Once the soil is evenly damp, lay a clear plastic tarp or specialized solarization film directly over the bed, sealing the edges with soil or heavy objects to trap heat. The plastic acts like a greenhouse cover, capturing solar energy and elevating the soil temperature. During the peak sunlight hours—usually between late morning and early afternoon—temperatures can reach 120 to 140°F (50 to 60°C), which is sufficient to sterilize the soil and eliminate many pests, weed seeds, and disease-causing organisms. Incorporating appropriate soil amendments after solarization can further enhance soil fertility and microbial activity.
You’ll want to leave the plastic in place for a minimum of four to six weeks during the hot summer months for maximum results. The longer the soil remains covered, the more effective the pest control, especially against resilient pathogens or stubborn weed seeds. Keep in mind that this method is most effective in regions with strong, consistent sunlight. If you’re in a cooler or cloudier climate, consider timing your solarization during the hottest part of the year or extending the covering period. Once the process is complete, carefully remove the plastic and prepare your beds for planting. The soil will be sterilized and free from many harmful organisms, giving your plants a healthier start and reducing the need for chemical interventions.
Frequently Asked Questions
How Long Does Soil Solarization Typically Take?
Soil solarization usually takes about 4 to 6 weeks to effectively control pests, weeds, and pathogens. During this period, you should guarantee the soil reaches a high enough temperature, typically between 122-140°F, by covering it with clear plastic. Consistent, sunny weather helps maintain soil temperature levels needed for pest control, allowing solarization to work efficiently. Patience is key for successful results.
Can Soil Solarization Be Used in All Climates?
You can’t paint with a broad brush when it comes to soil solarization; it’s not a one-size-fits-all solution. While it works well in warm, sunny climates, climate limitations and soil type can hinder its effectiveness elsewhere. In cooler or cloudier regions, solarization may take longer or be less reliable. You need to take into account your local conditions carefully to decide if this method will give you the results you want.
What Materials Are Best for Covering the Beds?
You should use clear polyethylene plastic mulch for covering your beds during solarization. This material traps heat effectively, ensuring the soil reaches the necessary temperatures to kill weeds and pests. Make sure the plastic is tightly sealed around the edges to prevent heat escape. Avoid opaque or dark plastics, as they don’t transmit enough sunlight to heat the soil properly. Using clear polyethylene is your best bet for successful solarization.
Is Soil Solarization Safe for Beneficial Soil Microbes?
Soil solarization can impact beneficial microbes temporarily, but it generally doesn’t harm microbial diversity or soil health long-term. The high temperatures kill pests and pathogens, while some beneficial microbes survive in protected soil areas. To protect soil health, use solarization for a limited period and consider reintroducing beneficial microbes afterward through compost or inoculants. This approach helps maintain a healthy balance of soil life, supporting productive, resilient gardens.
How Often Should Soil Solarization Be Repeated?
You should repeat soil solarization every 2 to 3 years to maintain soil health and pest control. After solarization, practice crop rotation to prevent pest buildup and incorporate soil amendments like compost to replenish nutrients. This cycle keeps your soil healthy and productive, ensuring beneficial microbes recover while targeting soil-borne pests effectively. Regular solarization combined with these practices sustains a vibrant, pest-free garden over time.
Conclusion
Now that you’ve learned the basics of soil solarization, imagine what secrets lie beneath the surface—pests, weeds, pathogens—all vulnerable to your next move. Will you wait or act quickly to reveal a healthier bed? The choice is yours, and the outcome depends on your decision. One thing’s certain: the future of your garden hinges on this simple, yet powerful technique. Are you ready to see what’s hidden just beneath your feet?